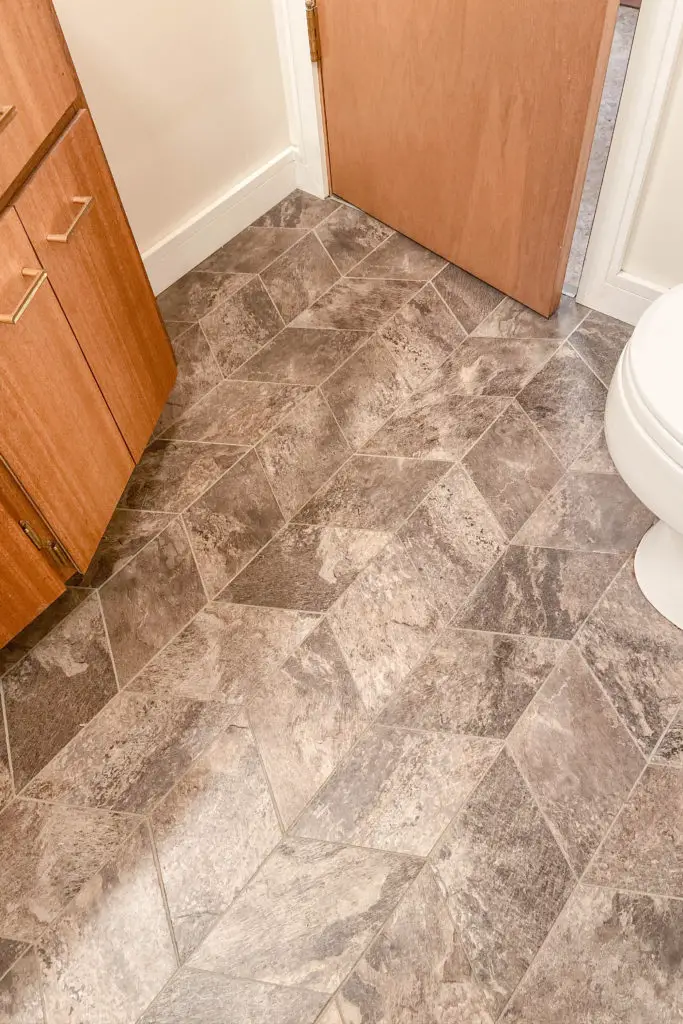
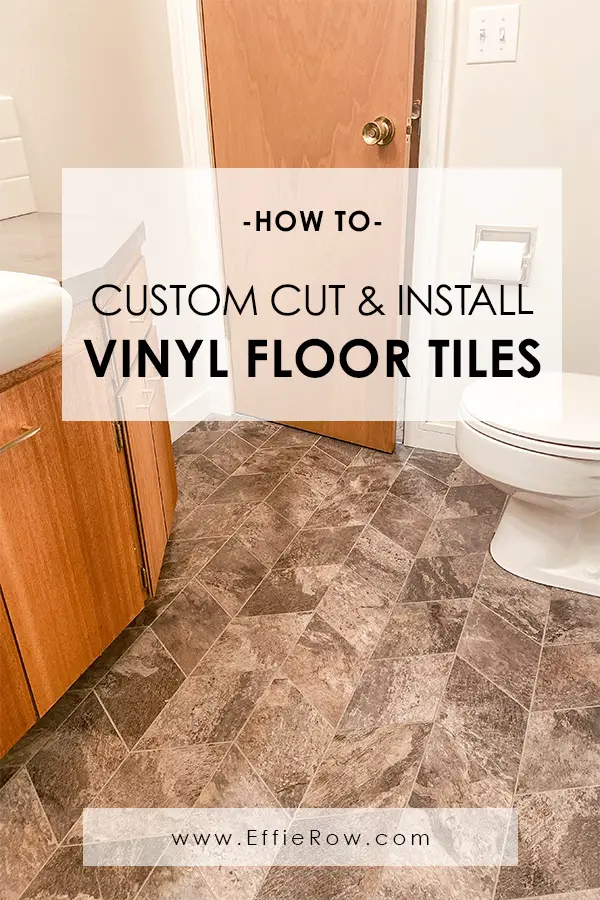
Vinyl floor tiles were the perfect option for our budget bathroom renovation. They were inexpensive, easy to custom cut, and quick to install. And with the added grout, most guests assume it’s the real deal!
DISCLAIMER: This post contains ads and affiliate links. At no additional cost to you, we may receive a commission for purchases made through these links and ads.
This project has become one of Eric’s go-to examples for explaining my DIY “method” to others. I tend to take something really simple and make it wwaaayyy more complicated. In this particular instance I decided to take simple peel-n-stick vinyl tiles, cut them down, and lay them in a herringbone pattern. We can laugh about the process now, but in the moment I was an obnoxious force of perfectionism.
I make zero apologies for my ambitions though. The outcome was totally worth the sweat and stress. Combined with our DIY faux concrete countertops, I’m feeling like a highly successful illusionist!
We started with 12″ x 24″ vinyl tiles. But considering the small size of the bathroom, I really felt that laying the tiles as-is would have looked way off-scale. So I decided to reduce their size. But no ordinary square or rectangle would do. Noooo….I wanted a unique pattern that could only be achieved by cutting the tiles into diamond/rhombus shapes.
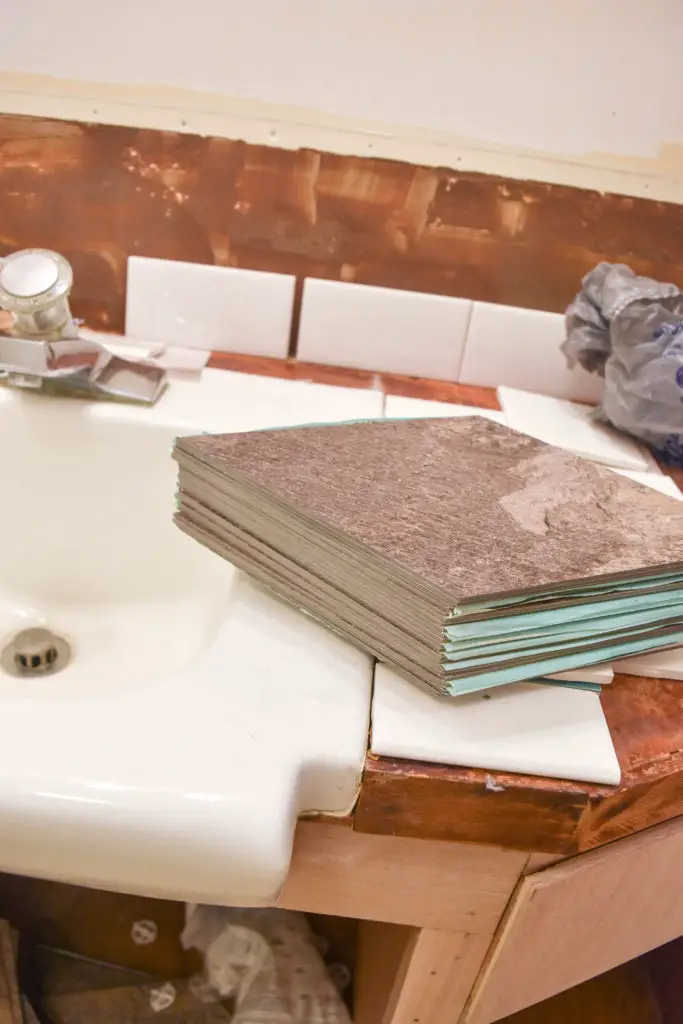
The rhombus-shaped tiles were created by cutting the tiles in half lengthwise with a utility knife, and then cutting the angles with a miter saw (to speed up the process).
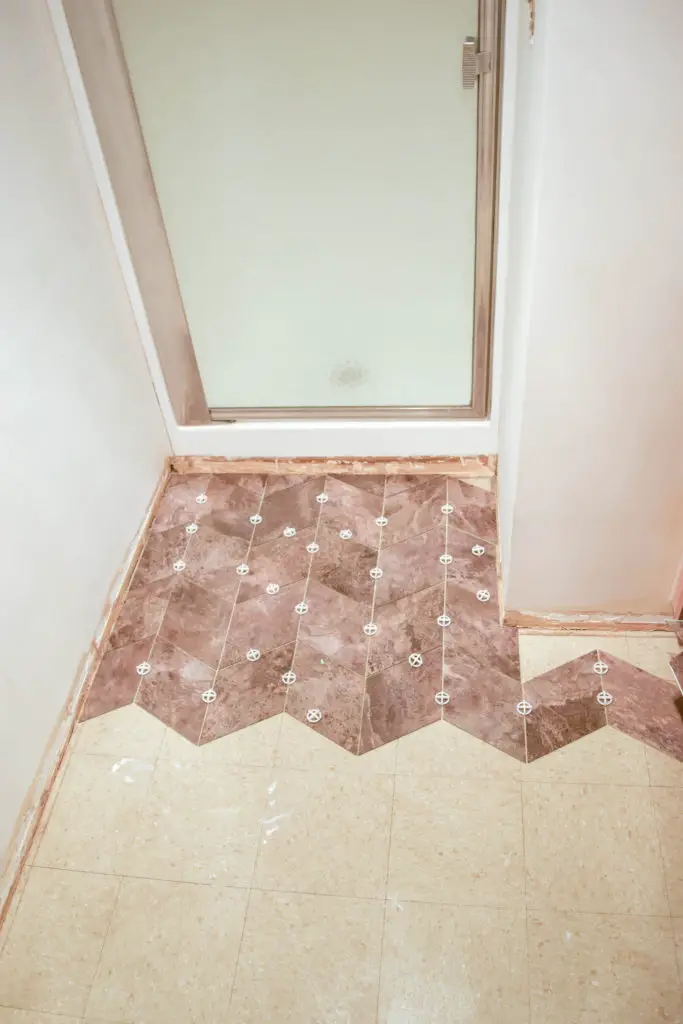
To prep the floor I vacuumed and scrubbed to remove as much dirt and debris as possible. Once dry, I worked in sections to lay the tile – starting near the shower (and working my way towards the door/exit).
You’ll want to do some degree of layout planning. I know there are recommendations to find the center of a room and layout tiles starting at that point. However I chose to start my layout at shower by finding the center of the opening and working from there. The existing tiles also served as a guide. Do whatever you think will look best, but keep in mind where other tiles will fall as you work your way out.
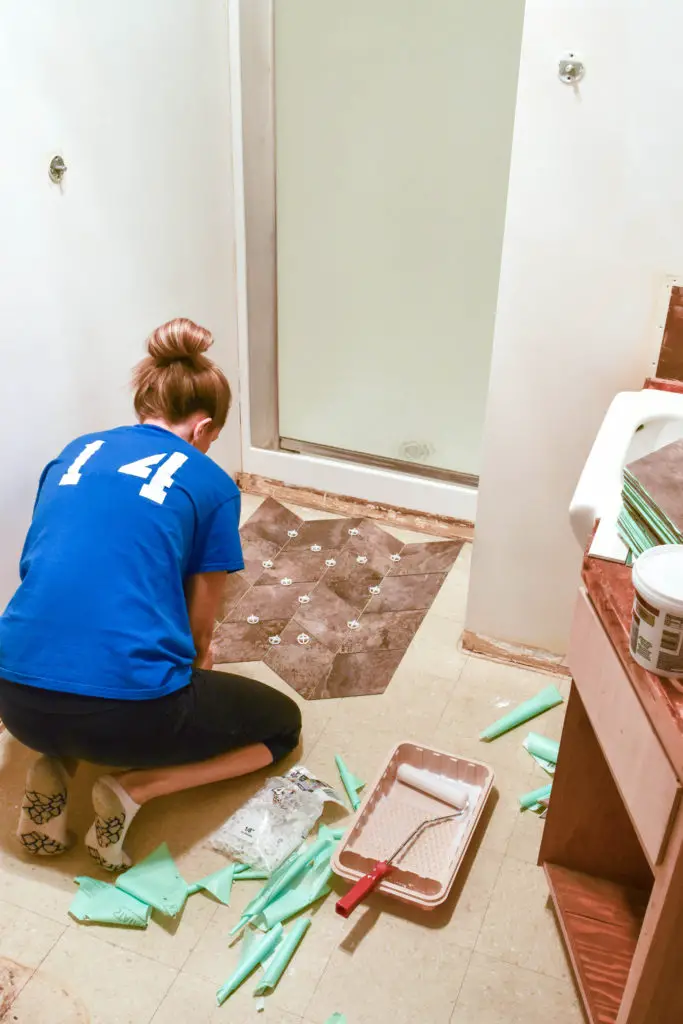
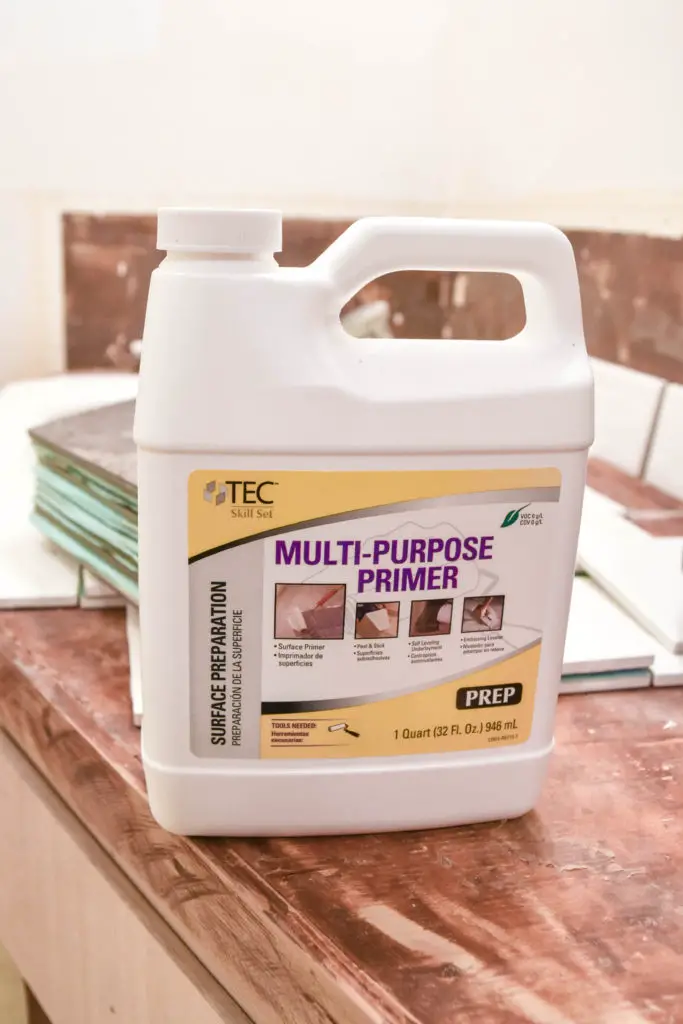
As I mentioned above, I worked in small sections to install the tiles. The first step was rolling on a thin layer of TEC Multipurpose Primer and letting it sit for ~30 minutes. The primer sets tacky and improves the adhesion of the tiles. Once it was nice and sticky, I proceeded to peel the paper backing off the tiles (which also have adhesive) and lay them in place using 3/8″ spacers in between.
I was pretty obsessive about keeping the spacing of the tiles even. But since we hand-cut the tiles, there were a few additional cuts/tweaks along the way that had to be made (to keep things looking uniform). Fortunately we had spares and were able to arrange everything (like a puzzle) to get the best fit and maintain straight lines.
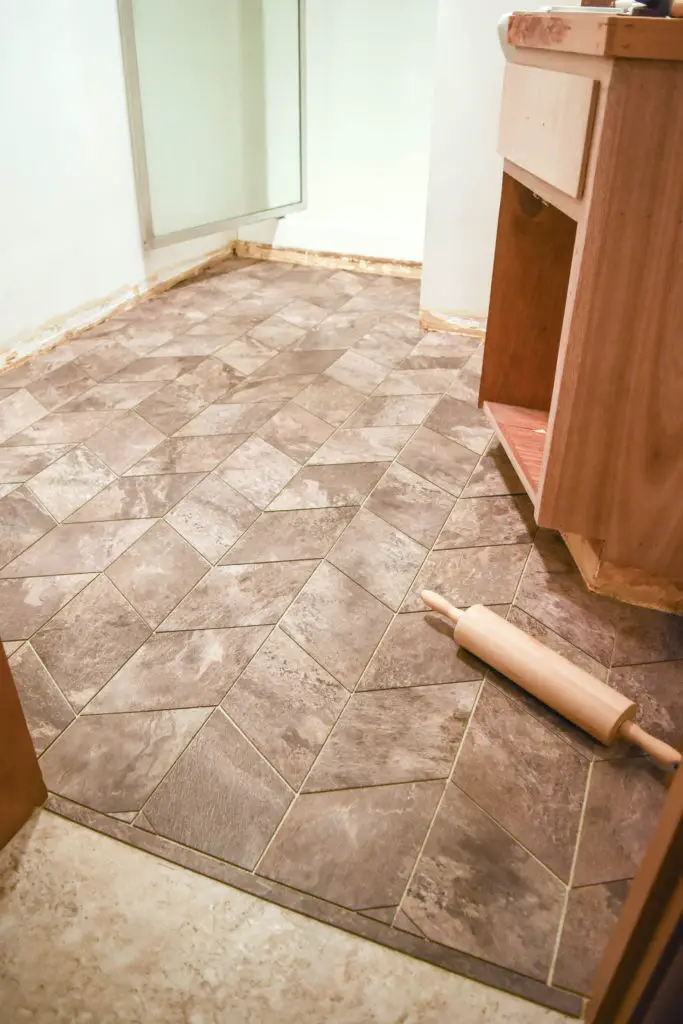
Some instructions somewhere along the way recommended using a 100 lb roller at the end to improve the bond. This seemed like a silly purchase for such a small place. So, as an alternative, Eric used a rolling pin, along with the weight of his body, to press down the tiles. I also may or may not have stood on the rolling pin at one point while holding on to him…Regardless, it worked.
A couple of days layer I grouted the tile. You’ll need specific vinyl tile grout for projects like this. It comes pre-mixed in smaller batches, so all you have to do is apply it. Like normal grout, clean up was a bit messy. It involved quite a few passes of clean water to remove the grout haze on the tile. On a positive note, you will not need to seal the grout once it is dry.
Side note: Somewhere in the process of re-installing the toilet, Eric set down a hot drill bit on the tile floor and it melted a small hole in the tile. After all of my hard work I was slightly devastated. Fortunately a little bit of grout patched it up nicely and I’m probably the only one who knows it’s there. But, it’s an important reminder about the differences between vinyl tile and stone or ceramic tiles. Vinyl tiles are not resistant to direct heat. Something as simple as a hot curling iron set on the floor could leave a permanent mark.
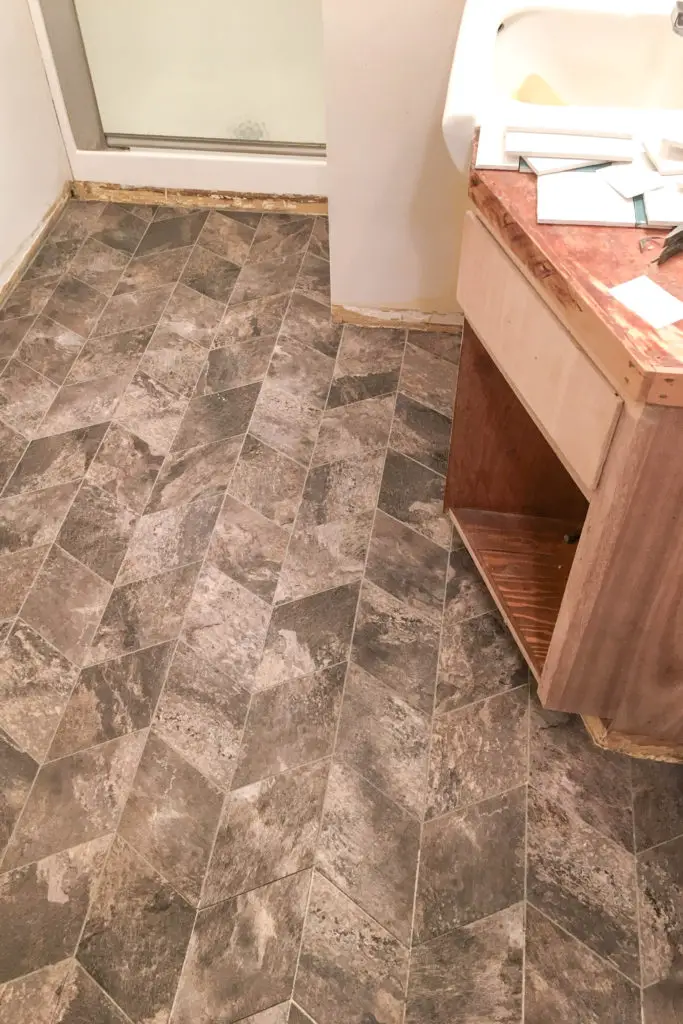
The end result is a floor that is easily mistaken for stone tile (at a fraction of the cost). The only difference most people notice is that it isn’t as cold to the touch as stone tile – which in my opinion is actually a perk, especially in a basement bathroom. The floors have been installed for over 2 years now and they have held up great along with the faux concrete countertop!
