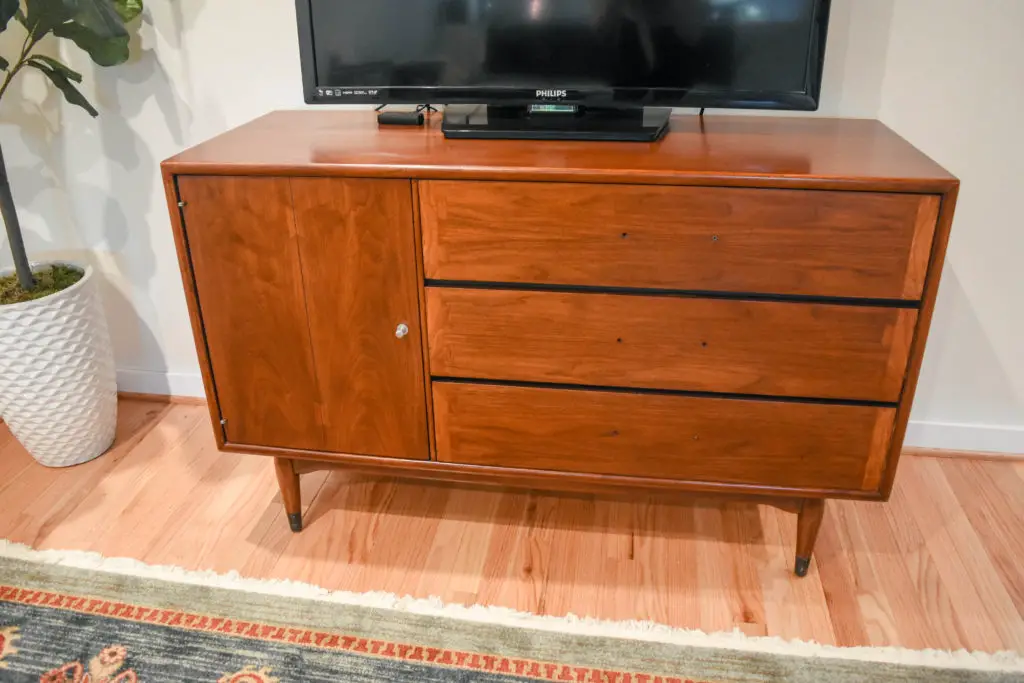
It’s not uncommon for mid century furniture to be made of two different types of wood. But with the right tools and technique, we restored this mid century console cabinet to its classic beauty.
DISCLAIMER: This post contains ads and affiliate links. At no additional cost to you, we may receive a commission for purchases made through these links and ads.
This mid century furniture restoration has me celebrating for a few reasons:
- The piece was originally $20 at a garage but we got it for free.
- When I say “we” I mean our friend, Aaron. He spotted it at a garage sale and thought of us. We were willing to pay the $20. But instead, he convinced the seller to give it to him for free.
- This was my first renovation since becoming a mom. At the time E was not at all content with staying in one place. Wrangling an infant + refinishing this piece = YAY me!
- The finished piece turned out amazing if I do say so myself. I managed to patch the blemishes and achieve an even color of stain between two different types of wood. Oh, and the finish is super smooth. Holler!
SHOP THE POST –

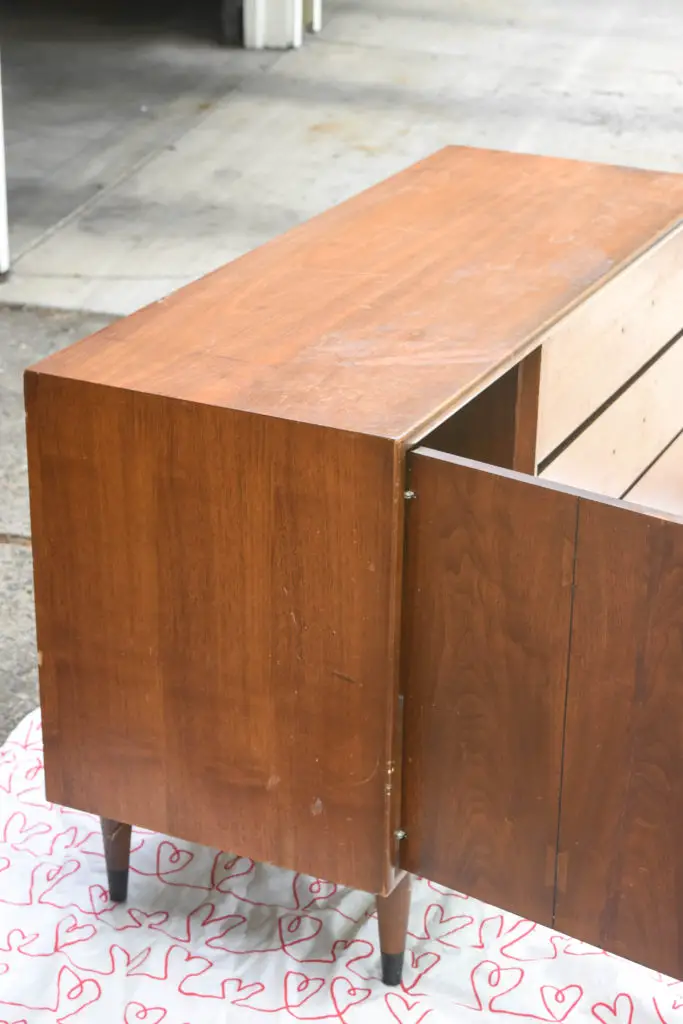
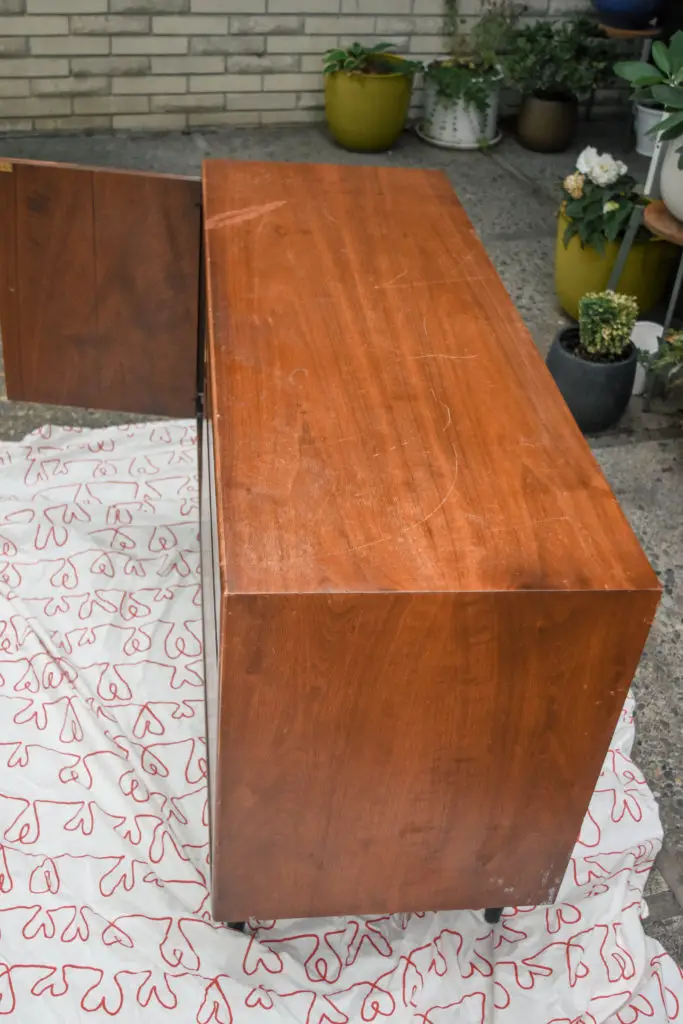
Before seeing it in person, I was wishfully thinking it would only need some polish. However, it really wasn’t in the best of shape. There were A LOT of surface scratches and scuffs as well as a rather obvious bleached mark on the top.
So without much hesitation, I decided this would be the perfect piece to test out my furniture restoration skills on. After all, I didn’t have much to lose!
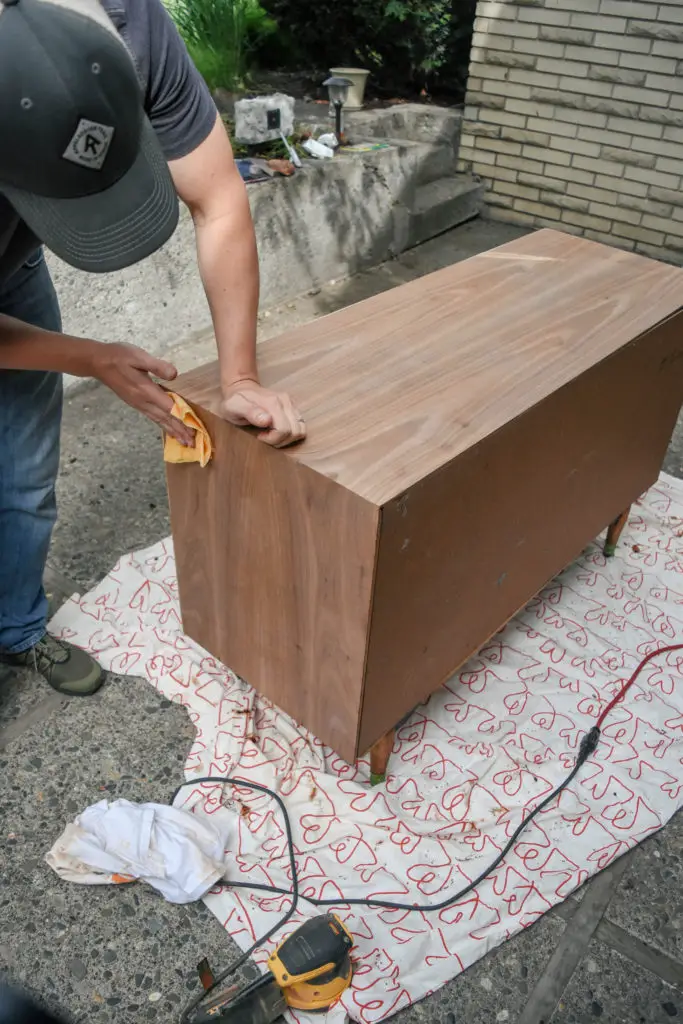
The first step was stripping the existing finish with CitriStrip gel. I’ve used this product in the past and honestly, it’s great. I love that it is thick enough to control, works quickly, and scrapes off easily.
Since the interior of the cabinet was in great shape, I wanted to avoid disrupting its finish. To protect it I taped off the threshold with painters tape. From there I applied the CitriStrip with a brush, let it sit for 30 minutes, and scraped it off with a wide putty knife. When scrapping off the CitriStrip and finish, it’s important to keep the putty knife level and not push too hard (to avoid adding any scratches). Think of it as un-frosting a cake.
I did two passes with the CitriStrip. After the majority of the finish was removed, we sanded off the excess residue. The drawer fronts were in relatively good shape so I hand sanded those and Eric used an orbit sander on the top and sides to blend out any scratches. Afterward, we thoroughly wiped away all the dust with a lint-free rag and then tack cloth.
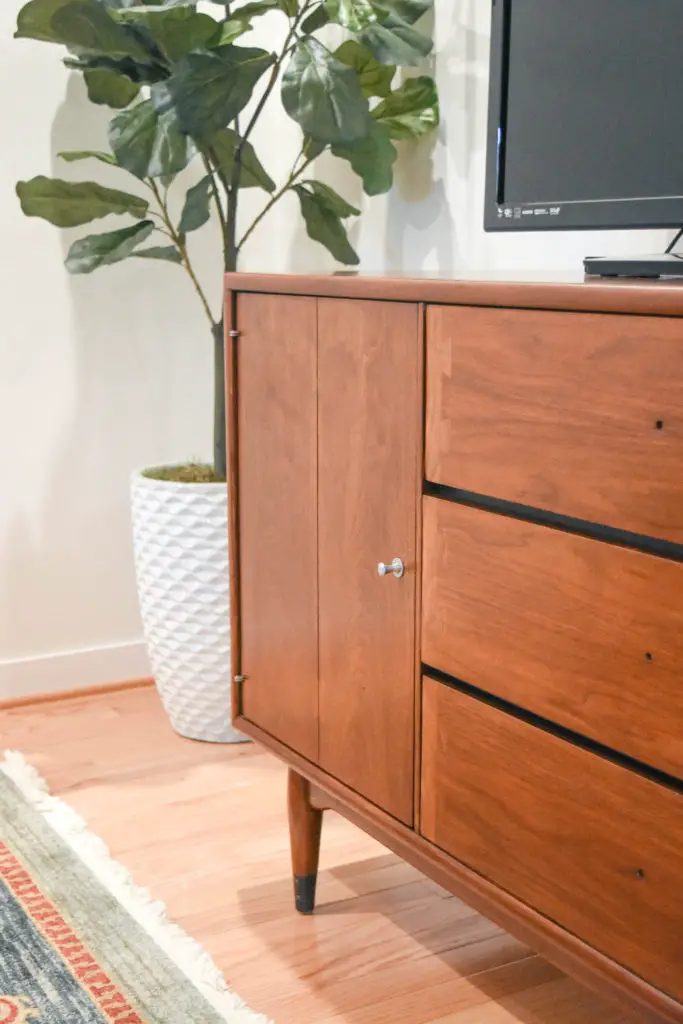
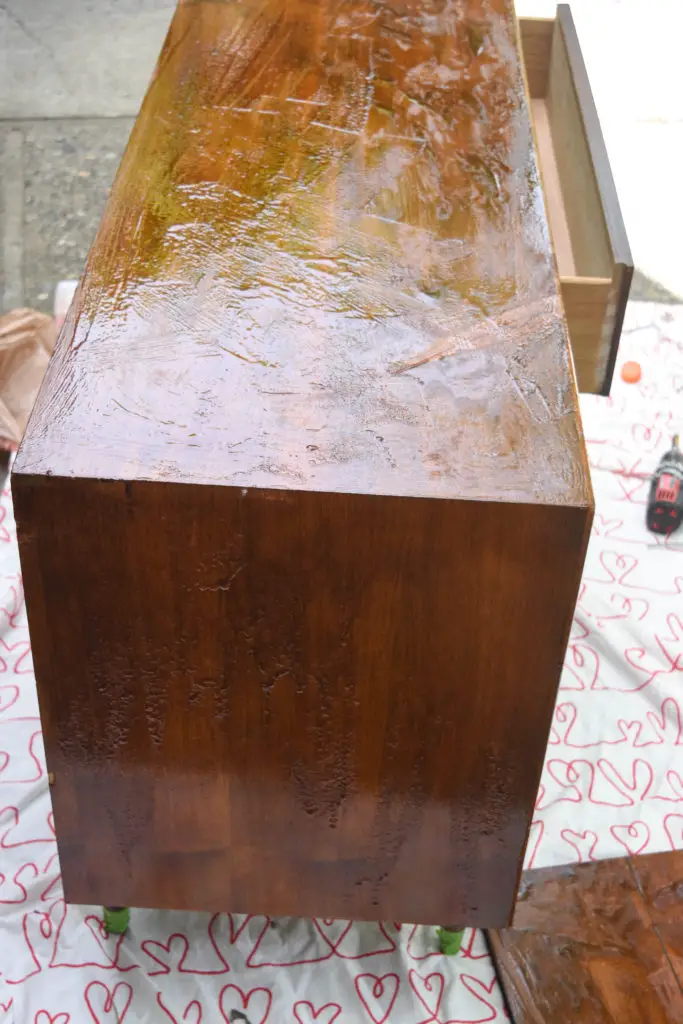
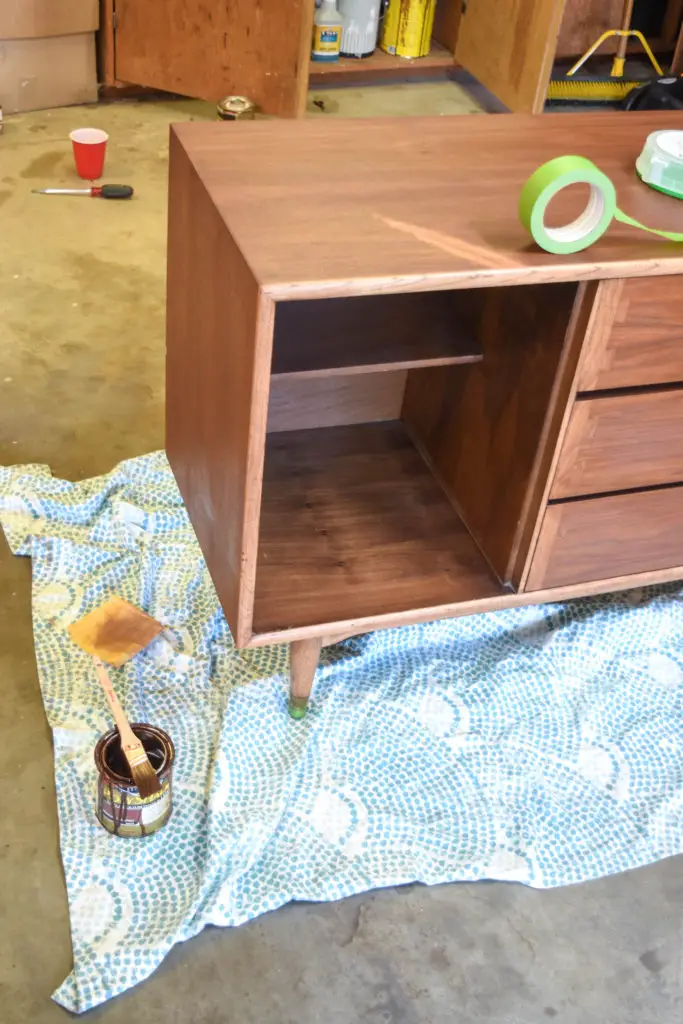
Finally – the piece was prepped for staining. With the exception of the tips of the legs (which I didn’t strip), I stained all the surfaces with Varathane in Early American. Let me just say – after years of trying to get woods like pine and hemlock to look halfway decent with stain alone, I finally fully understood the value of walnut.
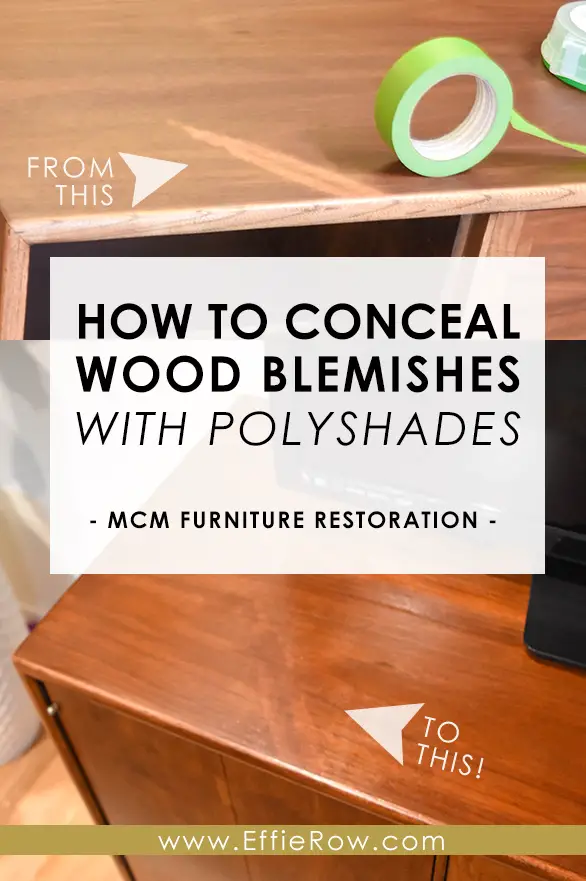
If you didn’t already know, a lot of mid-century modern furniture was sometimes built with a mix of walnut and other cheaper wood. The result is a two-toned piece if you apply stain alone. To combat this I used Polyshades (American Chestnut) to darken the lighter trim.
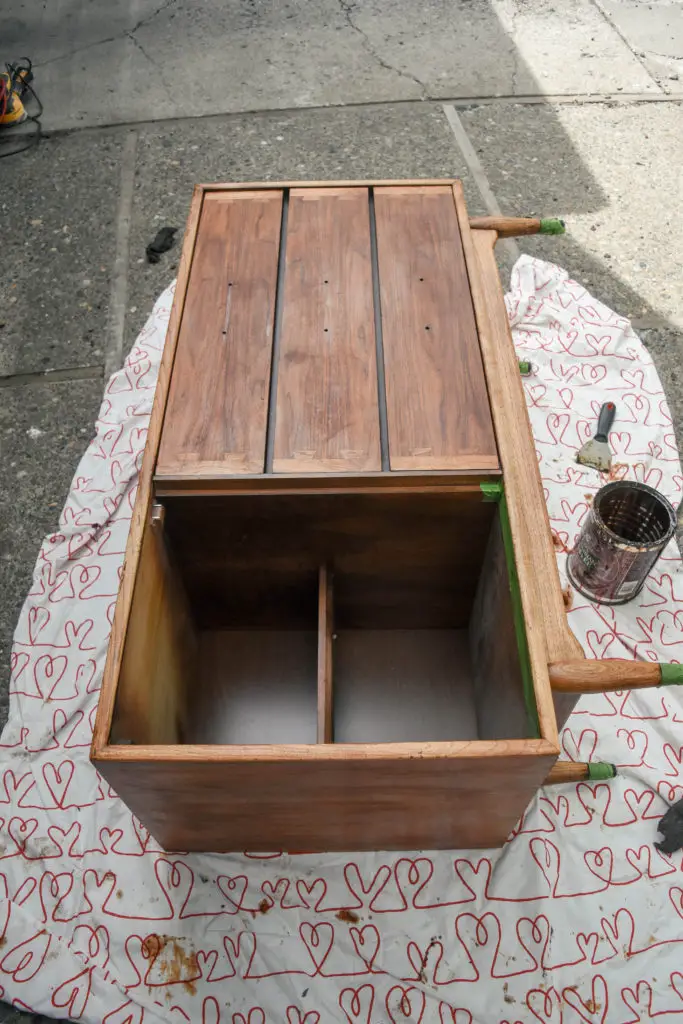
I taped off the trim and used the same can of Polyshades that I used for our DIY California King bed frame. To control the color saturation, I diluted it 50/50 with satin polyurethane. I let each layer thoroughly dry before sanding/buffing with steel wool (grade #0000). Buffing with steel wool between layers of poly is essential to achieving a smooth and professional-looking finish.
I used a similar process on the legs and drawer fronts. After two coats of diluted Polyshades, the wood matched! I followed up with one final coat of minimally tinted satin polyurethane to the entire piece (no sanding/buffing on the final coat).
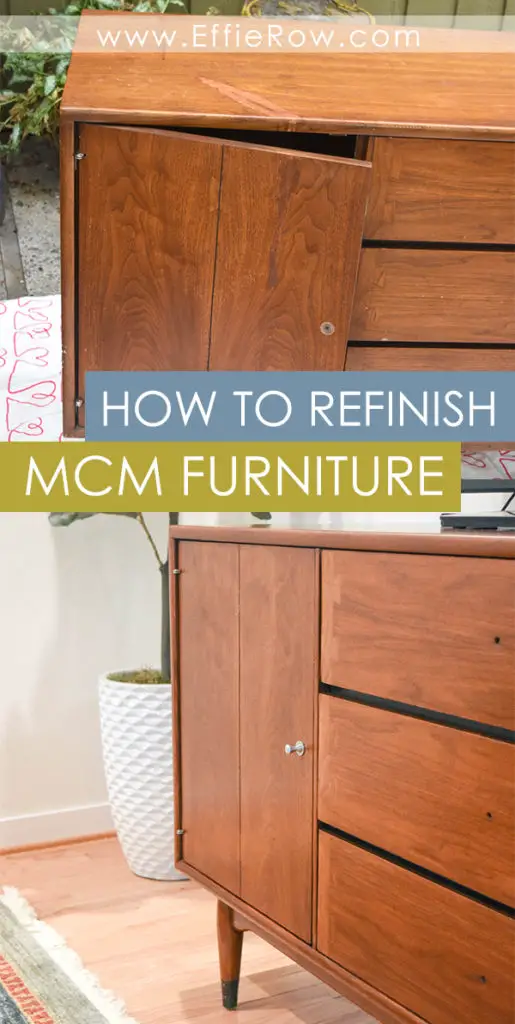
And what about that unsightly blemish on the top of the unit (who knows what caused it…bleach? heat?)?. It wouldn’t take any stain so I applied a few extra layers of Polyshades to the area before the final coat. The steel wool became my best friend and helped me blend and lighten up any overly-saturated areas.
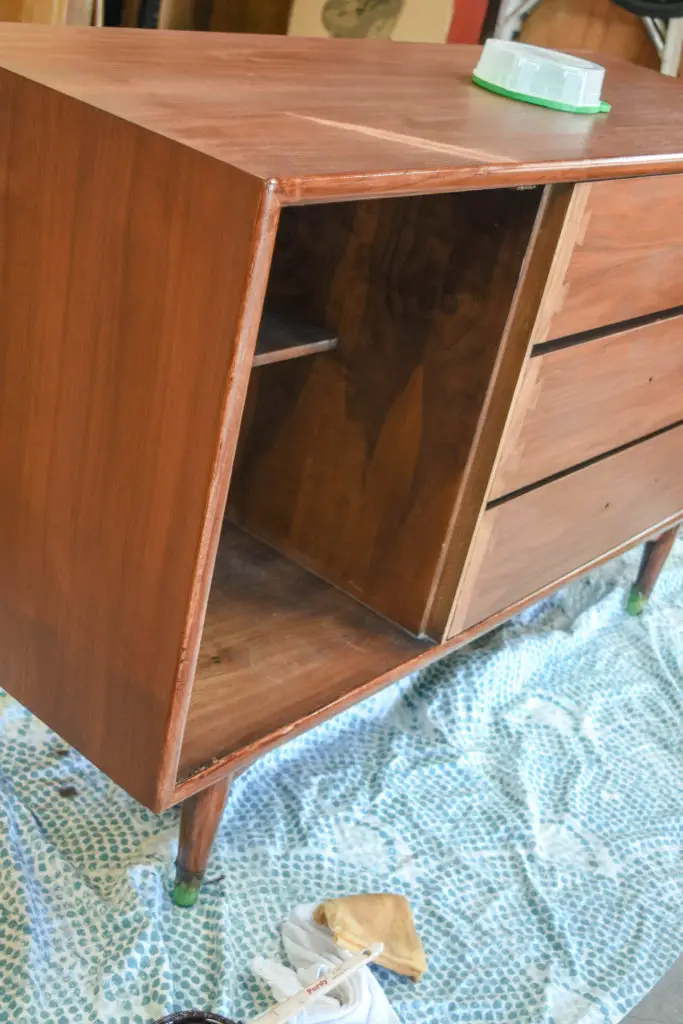
Considering what I had to work with, I’m pretty proud of my “patch job”! (results below)
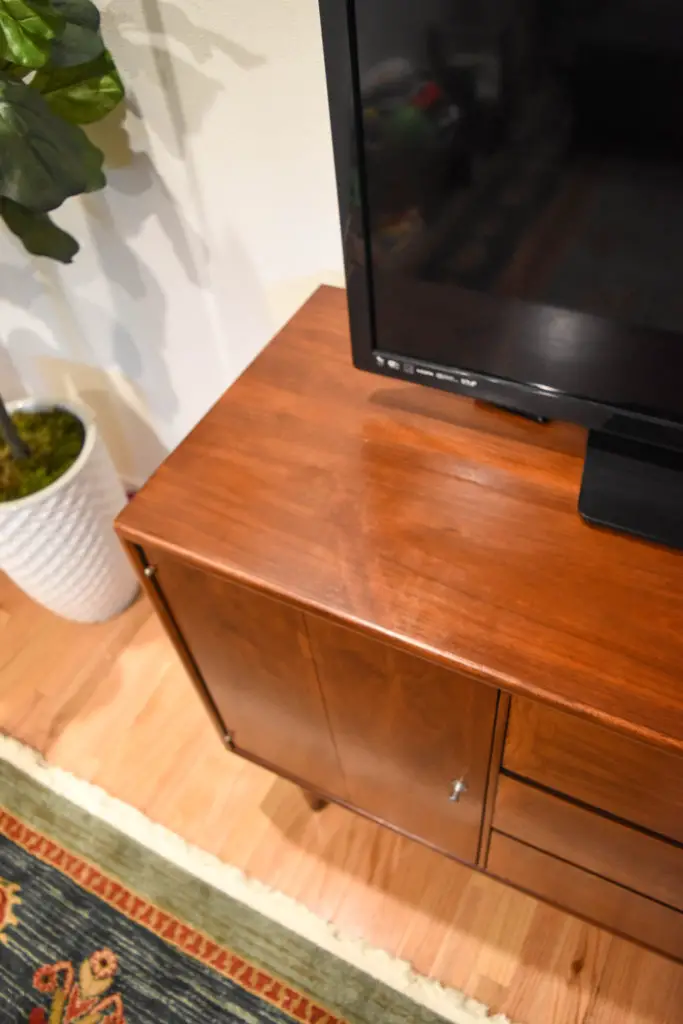
I was always a little iffy about using the piece as a TV stand. But now that I’ve adjusted to the height I can’t imagine anything different. We removed the panel off the back so that we could store our DVD player out of sight in the cabinet. The drawers are used for DVDs and a few of E’s toys.
Drawer handles have been the trickiest part. The holes are spaced 5.25″ and unless we’re willing to pay for custom (we’re not), we’re gonna have to get creative. I do have a solution in mind, but it involves glue and Eric is not a fan. Stay tuned…!