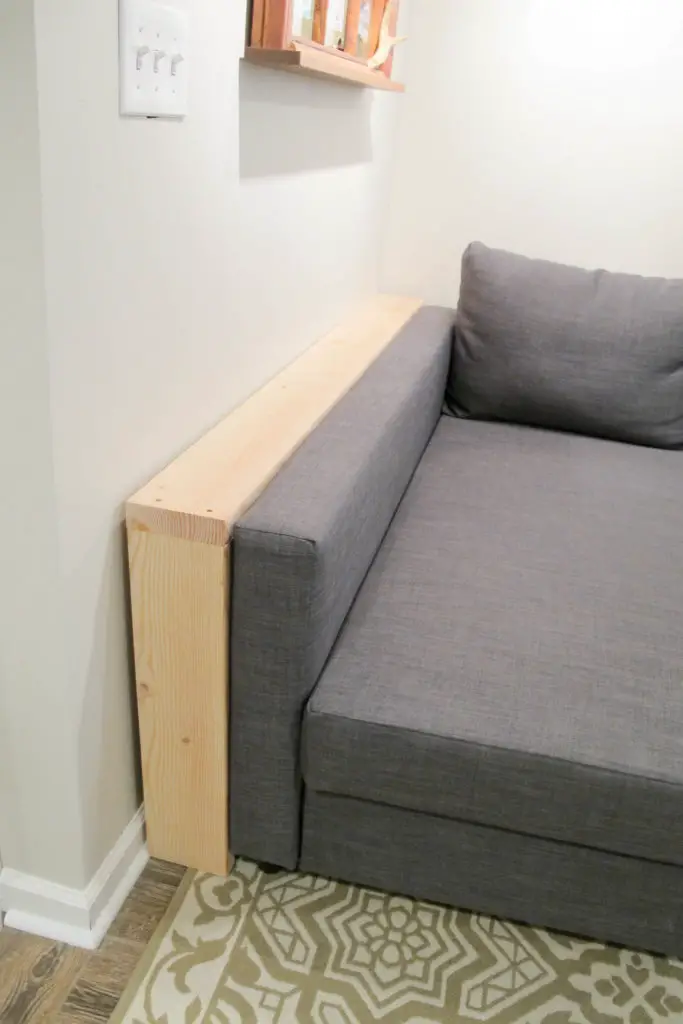
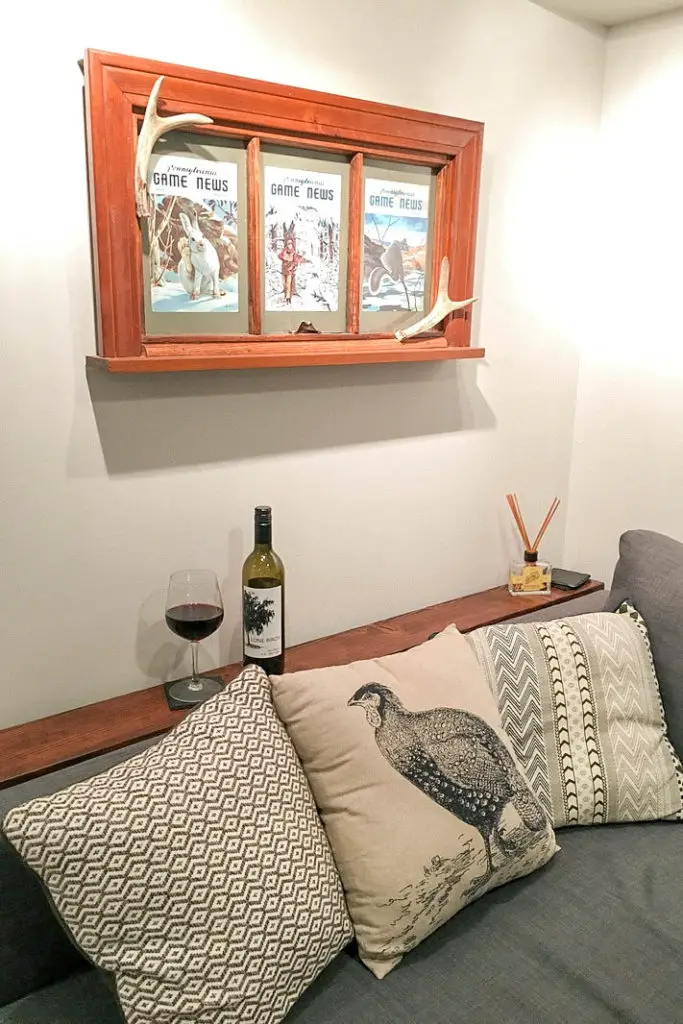
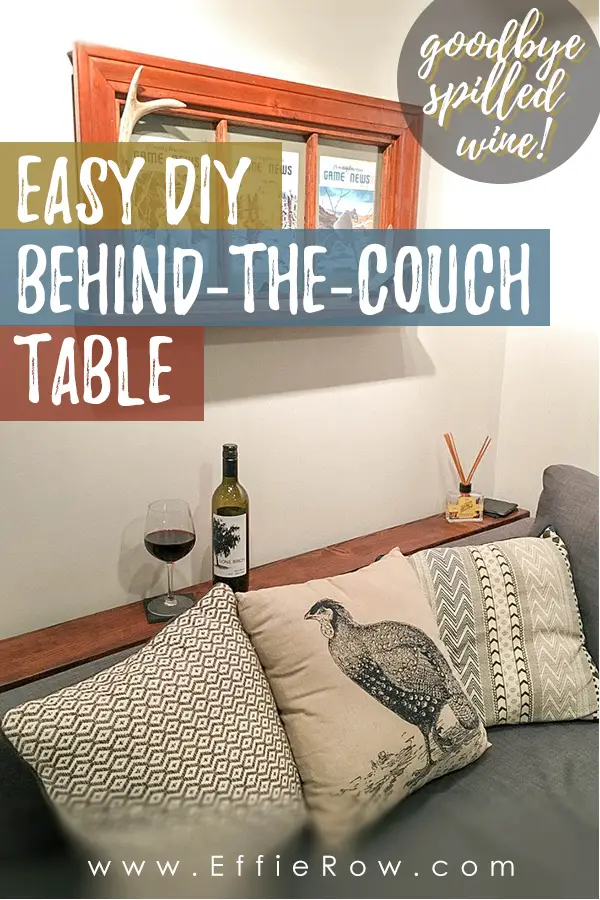
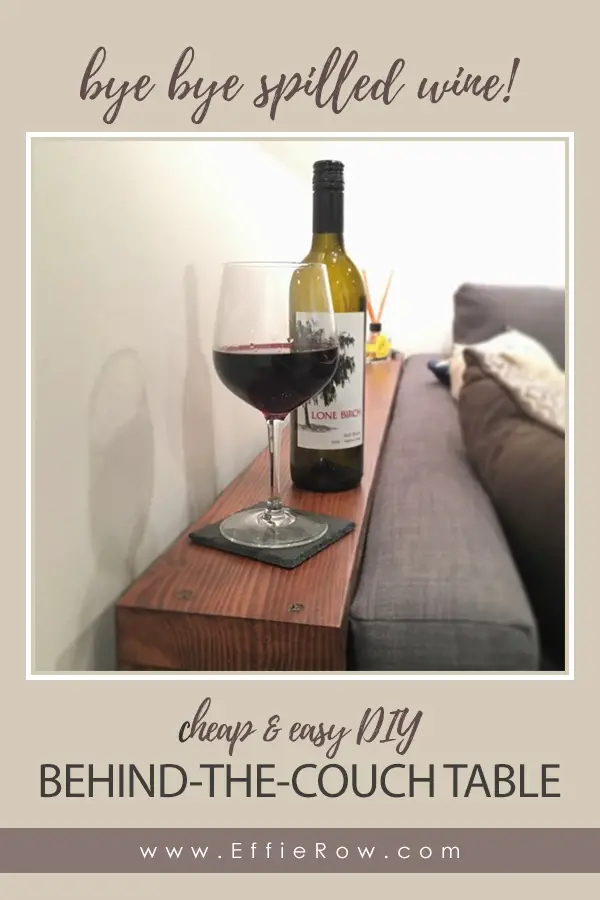
Our DIY behind-the-sofa table is easily one of the best things we have ever built. It has so many uses, from wine glasses and books to TV remotes and phones. Better yet – it’s a quick and budget-friendly project!
DISCLAIMER: This post contains ads and affiliate links. At no additional cost to you, we may receive a commission for purchases made through these links and ads.
End tables are great and all… but sometimes the space just doesn’t allow for the extra furniture (or it does, but you’d rather not cough up the money). That was our situation, and after tipping over one too many drinks on the couch and rug in our newly finished basement, it was time to build something.
We knew that we could build a simple ‘behind the couch table’ – and best of all it could be done on the cheap & easy!

SHOP THE POST –

The first step was to measure the height and length of the section where we wanted to put the sofa table. For our project we used 2x6s, but if you wanted something a little deeper your could also use other widths depending on your needs. Whatever size boards you use, be sure to account for the thickness of the top board, and subtract that from your overall height measurement (for the legs).
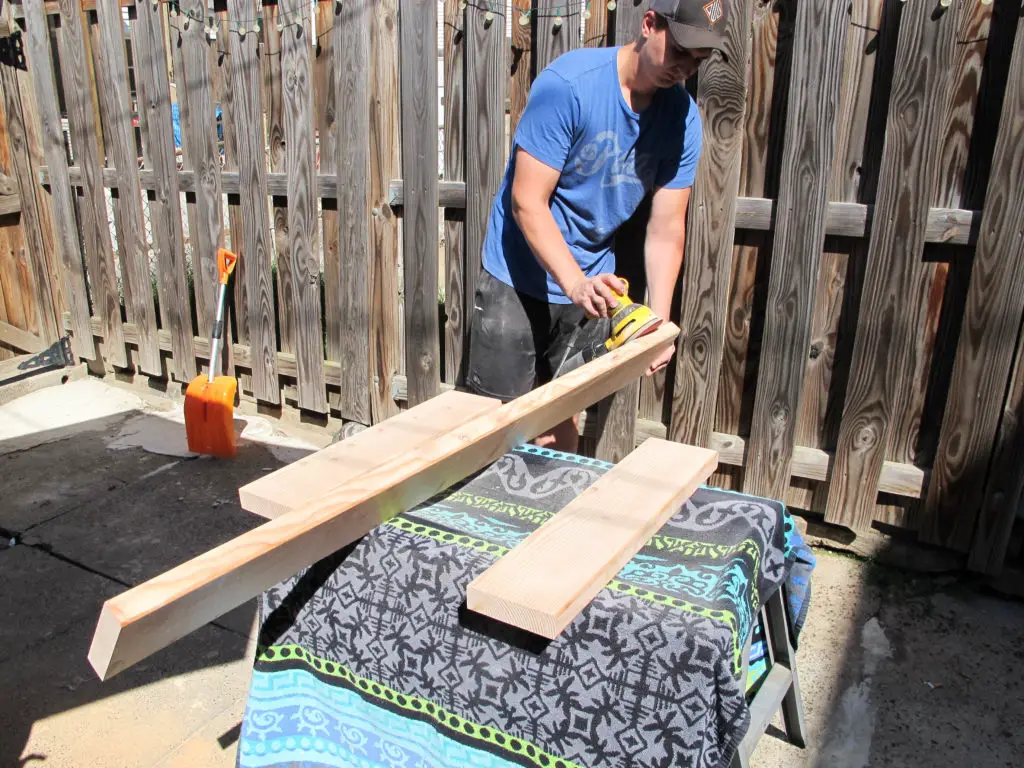
After cutting the boards to size (Home Depot will do it for you if you don’t have a saw!), Eric gave them a thorough sanding to ensure that our end product would be as “smooth as butter.”
If you find yourself needing to assemble something at a right angle, do yourself a favor and invest in some 90-degree angle clamps. I’m actually a bit embarrassed to admit that I have only one, but I’ve gotten plenty of uses out of it!
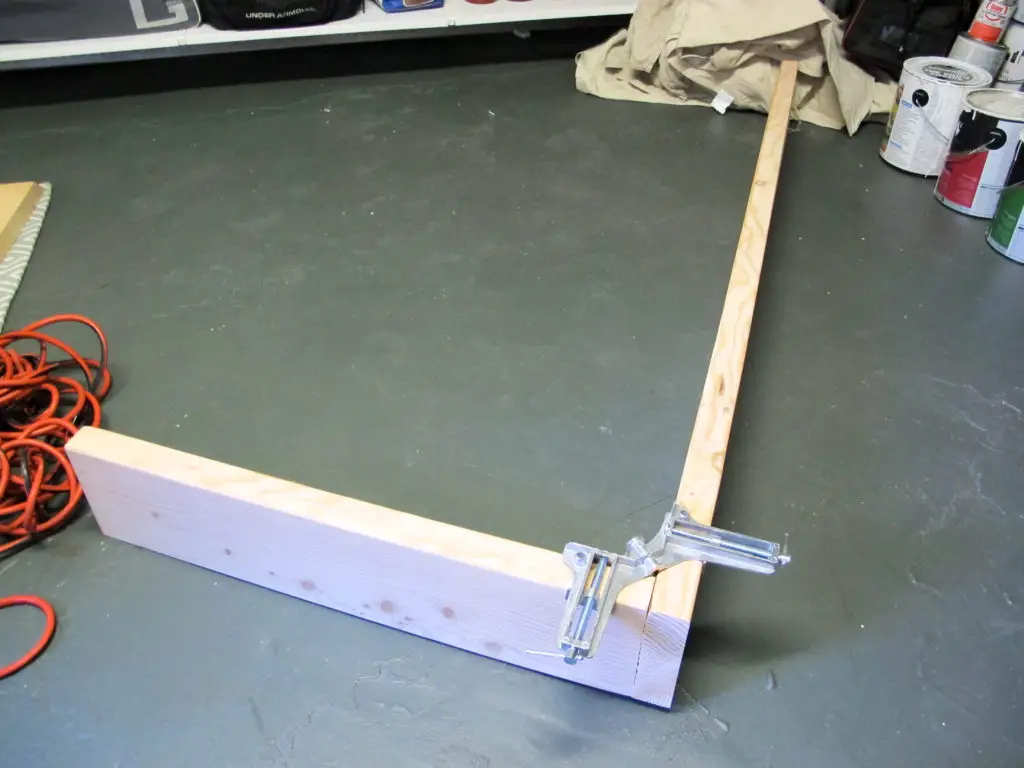
Because we have yet to get one of those fancy Kreg Jigs, we used an ‘old-fashion’ method to secure the boards at a 90-degree angle.
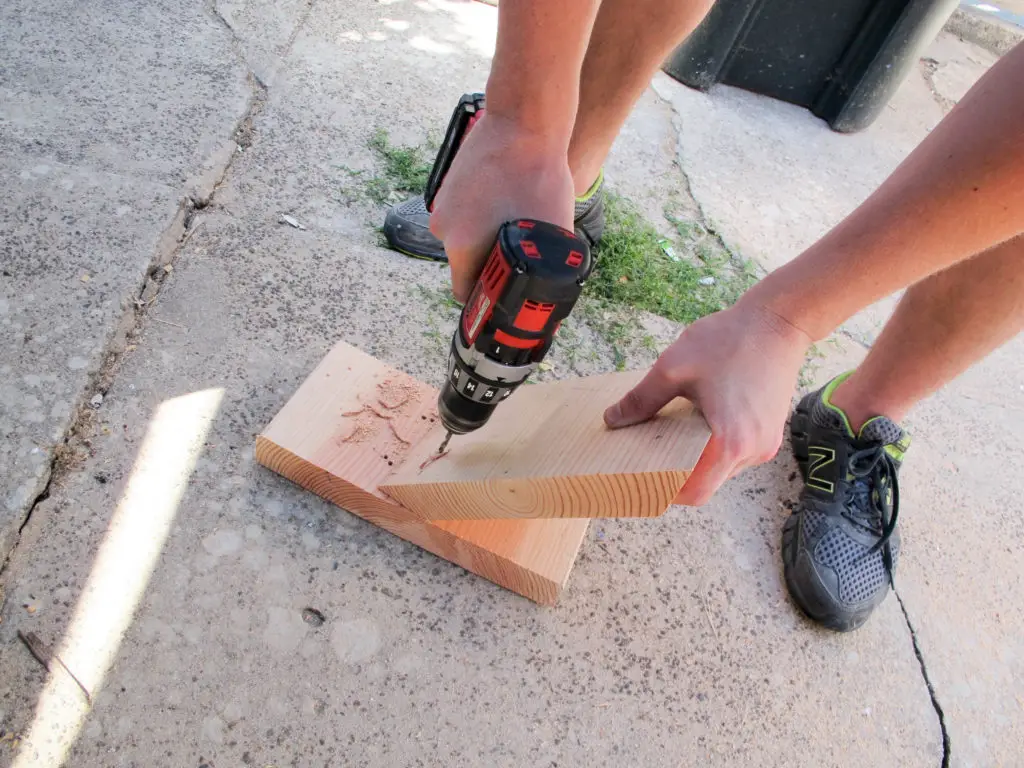
Eric took a section of the leftover board and used a miter saw to trim off the ends at a 45-degree angle. He then pre-drilled 4 holes, so that we could easily attach the pieces to the inside angle of each corner.
If you don’t have the tools to cut a 45-degree angle, you could easily use sturdy shelf brackets on the inside corners to give them extra stability.
I’m fairly certain that I am not the only person who builds something just enough to set it up immediately and see how it looks half-finished. Eric laughs every time I do it, but by now he pretty much expects it out of me.
But then it was time to pull it back out and add the finishing touches.
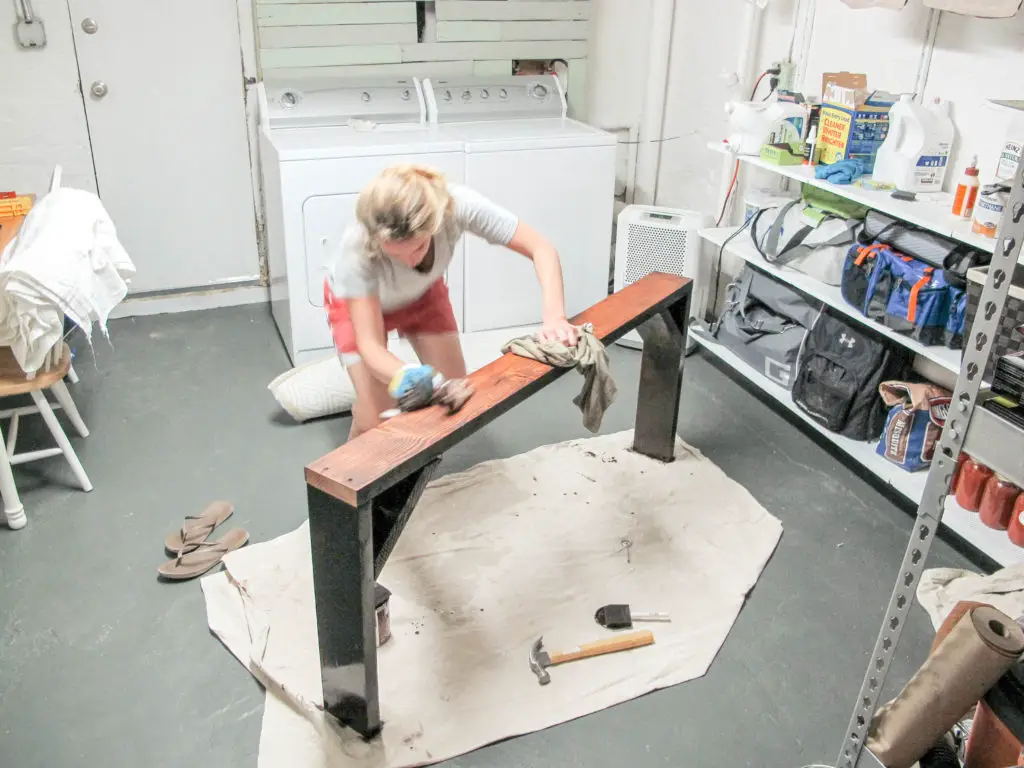
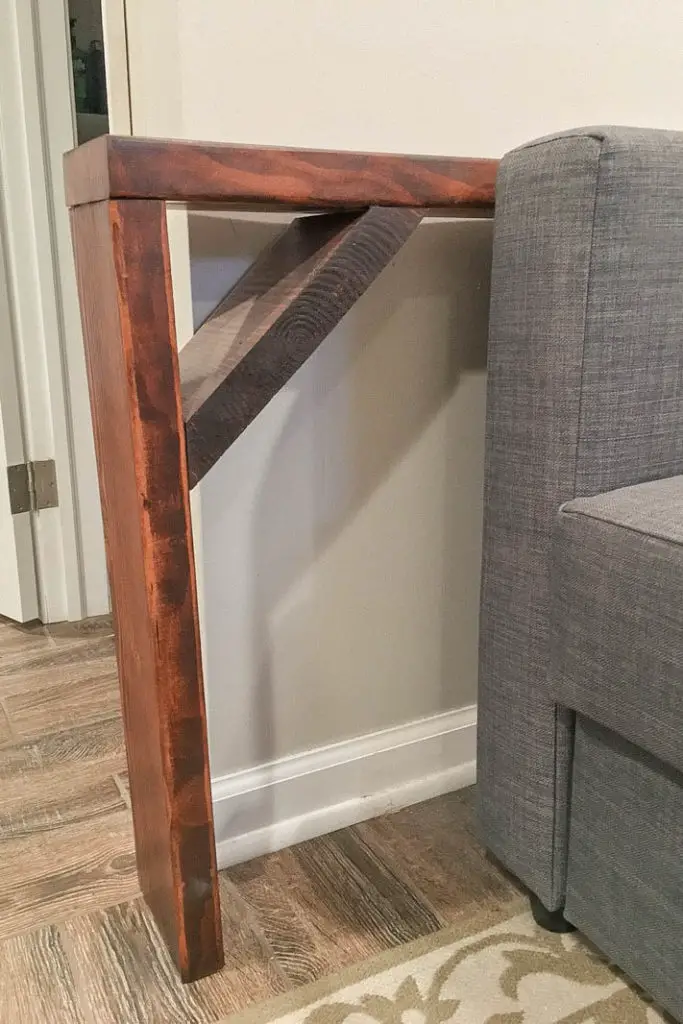
Per usual, I prepped the piece with Minwax PreStain Conditioner. We used Varathane Wood Stain in Carrington, followed by Varathane Polyurethane in Matte (to match the DIY Industrial Media Console we made). Don’t forget to apply to the stain to the cut ends last, and quickly wipe it away to prevent them from becoming noticeably darker than the rest of the surfaces.
The functionality of this behind-the-sofa table is worth way more than what it cost us. I love that it was a quick build and that isn’t an overwhelming piece of furniture in our newly-renovated basement.
Did you do anything with the skirting board regarding the little bit of space between the table and the wall? What was the width of your table?
We didn’t actually. But very few things have fallen down that gap since we mostly just use that table for cups/glasses and the TV remotes. The width is 3.5″ (common width for a 2×4).
Hi, I was wondering how long are the brace pieces? By the looks I’m guessing 12″? And then they are cut at an angle. Is that correct?
Maybe I missed something, but what size lumber are your boards? And I’m assuming they’re all the same? I absolutely love this, it is exactly what I need, would love to make it but not quite sure where to start lumber wise. 1x4s? Or ripped 2x4s?
The boards in the picture are actually 2×6s
Well that’s embarrassing! Yup – they sure are are 2x6s. I’ve since updated the post. Thanks Travis!
Are these 2x4s?
I’ve since updated the post – these are 2x6s for anyone else wondering.
I like the stain color. What is it called?
Carrington by Varathane.
I like this idea. I think I will add outlets with USB ports. Thanks for the inspiration!
Building this next weekend, can’t wait! Get a kreg jig! Best investment ever. We love it!!!!!
We’ve since got a kreg jig and I honestly can’t imagine building without one 😀