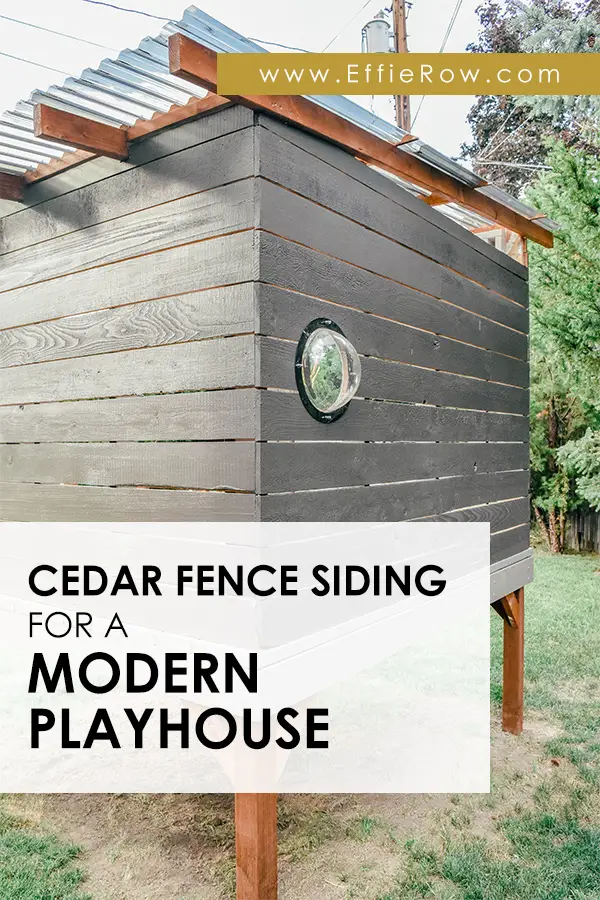
Installing and painting the siding on our DIY playhouse finally made it start to feel like a ‘house.’ The horizontal cedar fence boards were easy to install and should last for years to come.
DISCLAIMER: This post contains ads and affiliate links. At no additional cost to you, we may receive a commission for purchases made through these links and ads.
The process of building the roof and installing the siding overlapped for us. Mostly because I was inpatient after the framing went up and wanted to get a glimpse of what the siding would look like. But in the end, the siding was finished after the roof (because of the cutouts needed around the beams).
To install the siding we used the following materials and equipment:
- 35 (approx.) – Cedar fencing boards (5.5″ x 72″)
- Oil-based primer
- Miter saw
- Pen/pencil
- Pneumatic Finishing nailer + air compressor
- 2″ Finishing nails
- Jigsaw
- Spacers (anything for consistent gaps between the boards – we used stir sticks)
SHOP THE POST –
DISCLAIMER: This post contains a description of our building process. I cannot make guarantees regarding the safety of this play structure. Before building, please consult with a professional regarding materials and weight limits.
It hopefully won’t surprise you at this point that I primed the cedar boards before installing them. Since the framework was already primed, it made the eventual process of painting the interior (around the exposed 2x4s) much easier.
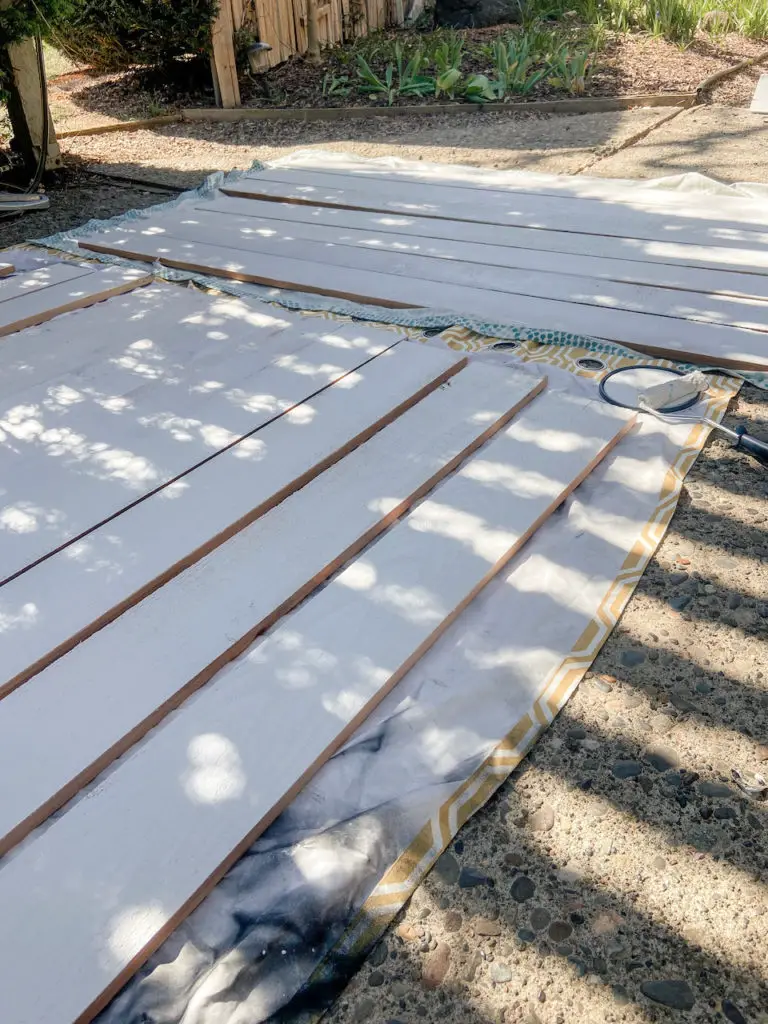
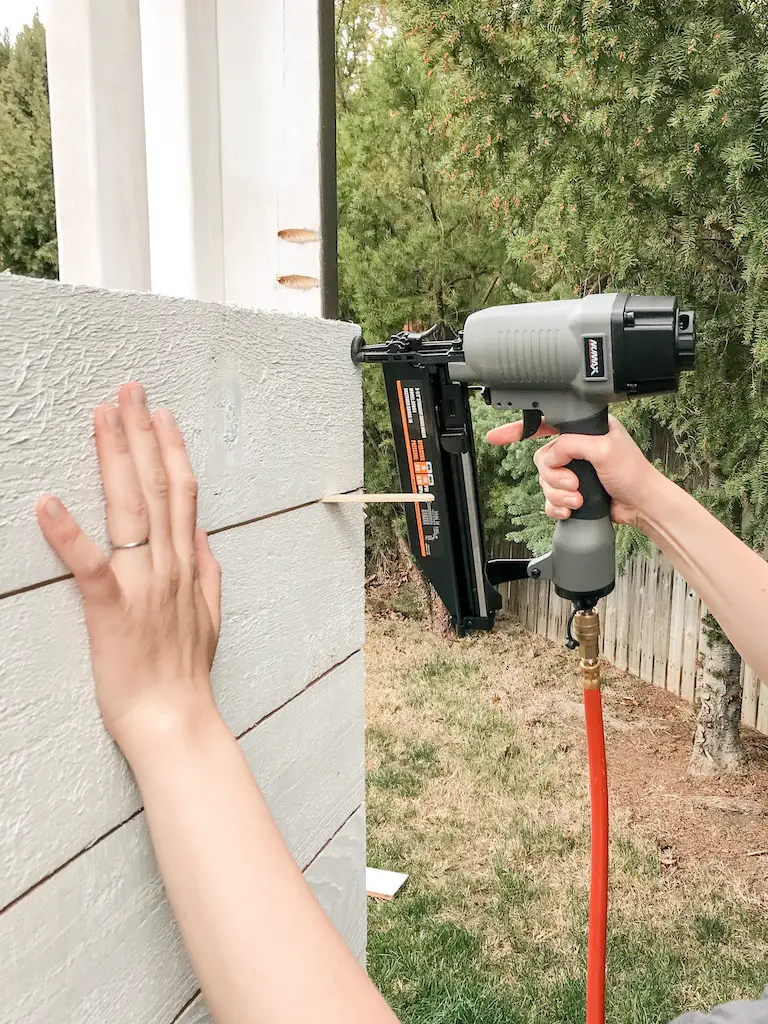
Once the boards were dry, we proceeded to install them on the exterior of the playhouse using a finishing nailer. I’ve heard of some people who level the boards. But to be honest, we didn’t bother with this since the deck was already level and we weren’t going for absolute perfection. We did each wall at a time, starting at the bottom and working our way up. We used a pen to mark any overhang and chopped it down with a miter saw.
To achieve even spacing between the boards, we used two halves of a large stir stick (see below). We rested each additional row on top of these “spacers” and removed them after securing the board with our finishing nailer.
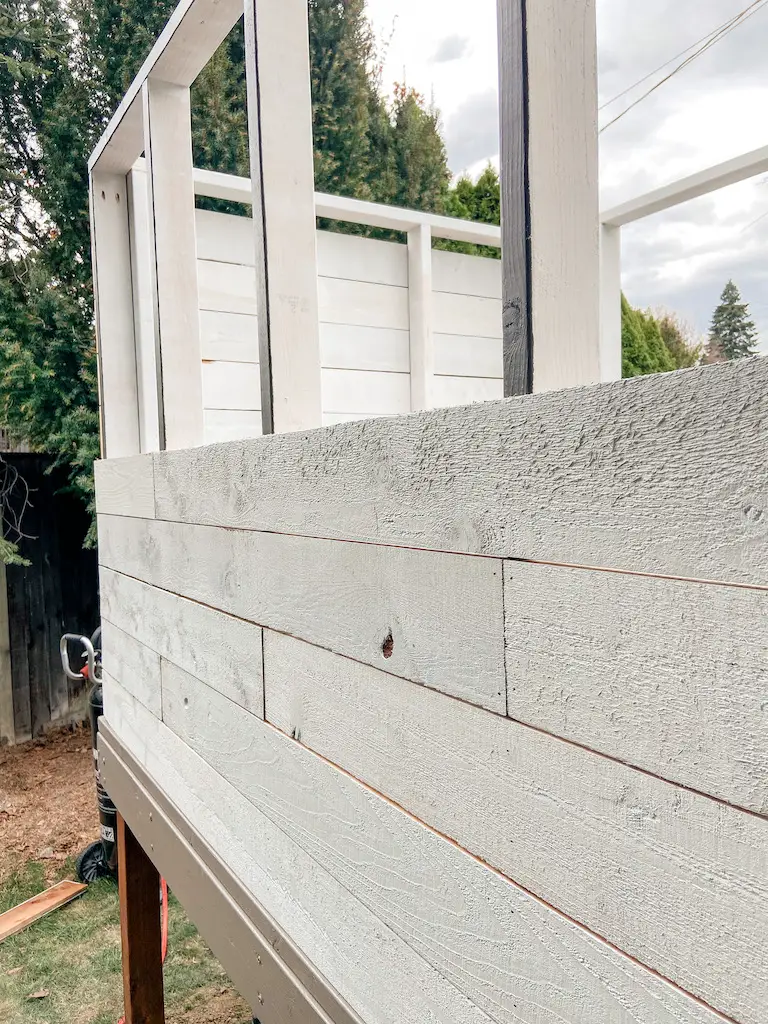
A few locations on the playhouse required us to use a jigsaw to fit the siding. One of these spots was the window. While Eric held the board in place (with spacers on the board below), I marked out the window frame with a marker. He then used the jigsaw to make the cut.
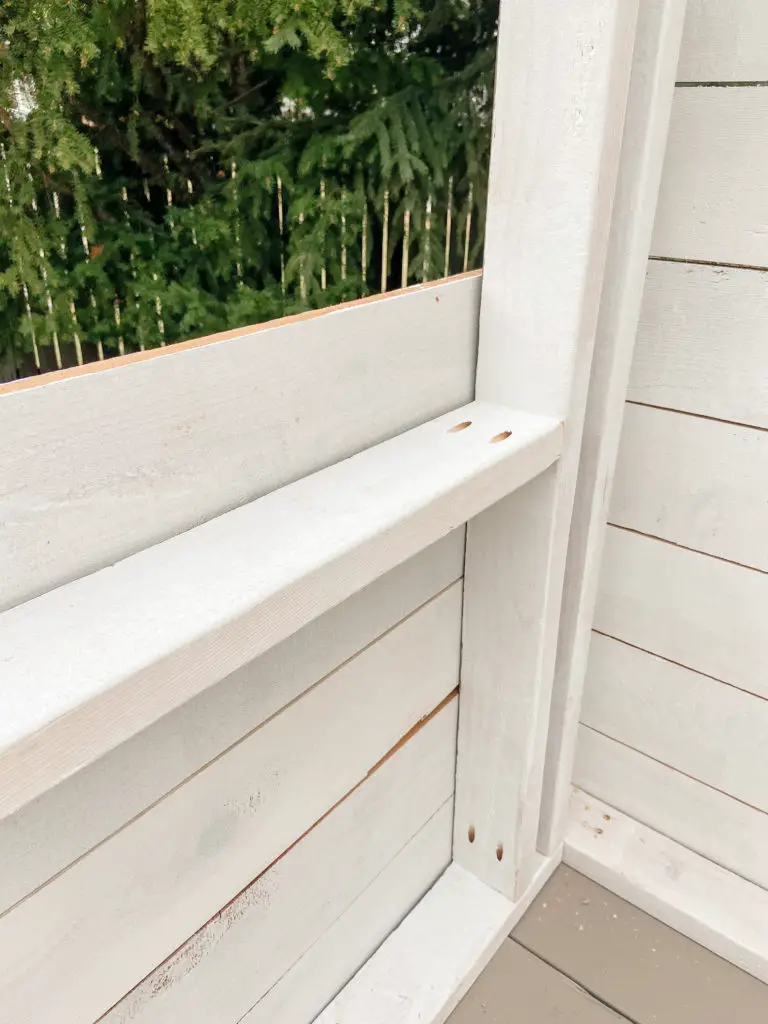
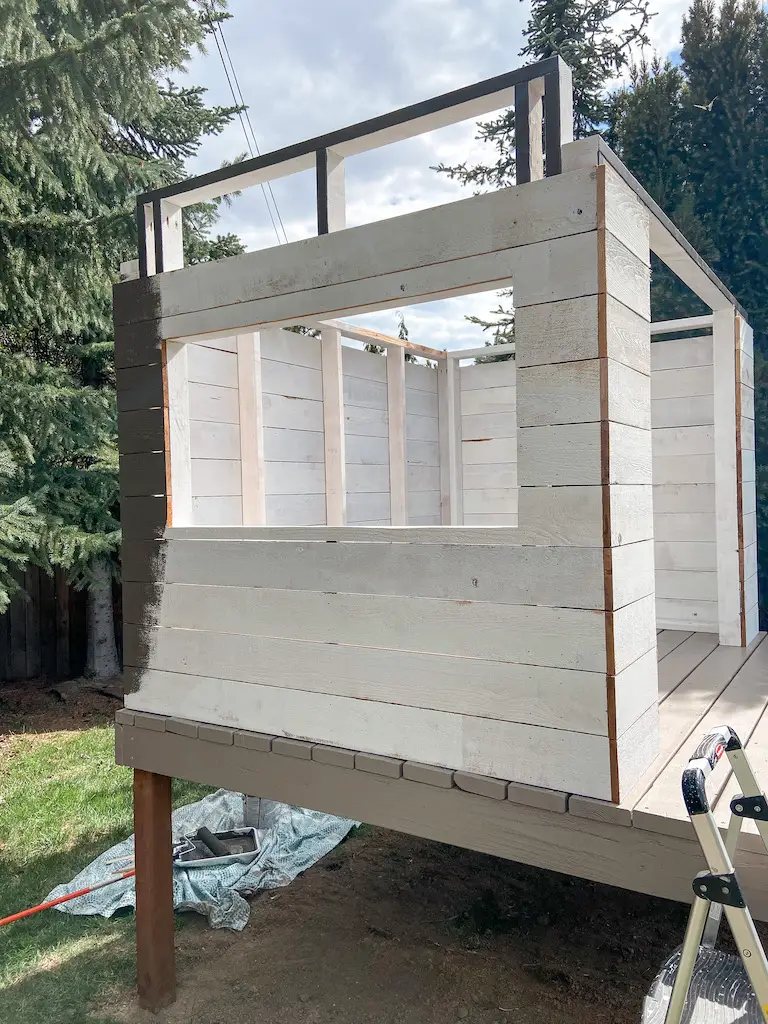
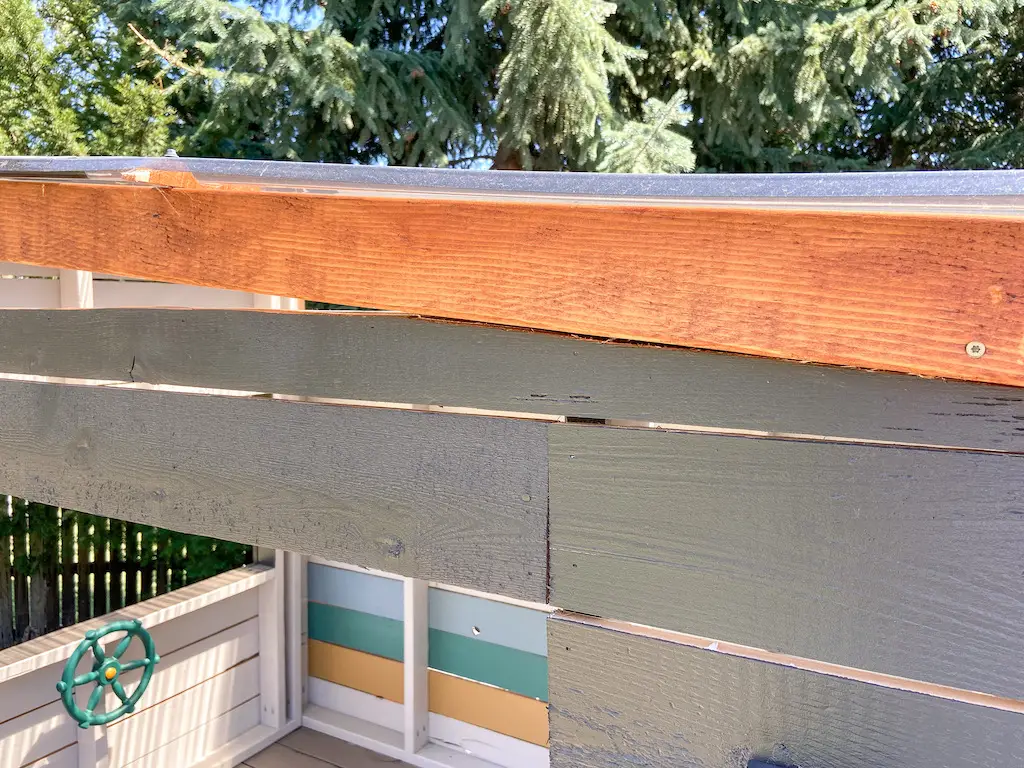
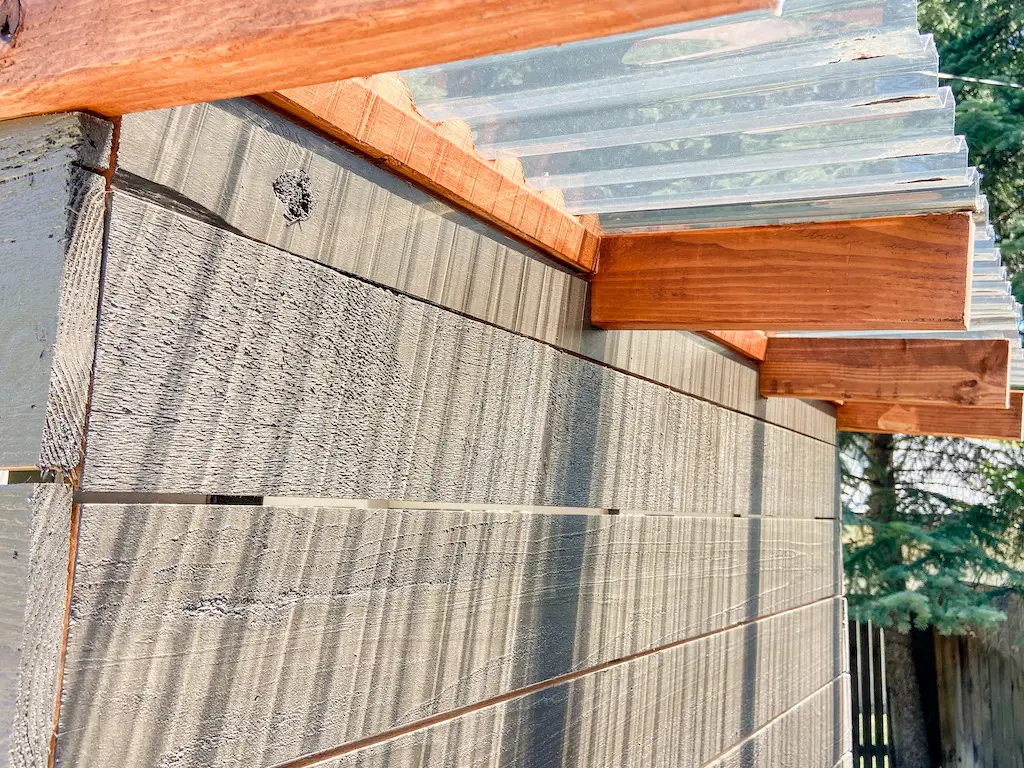
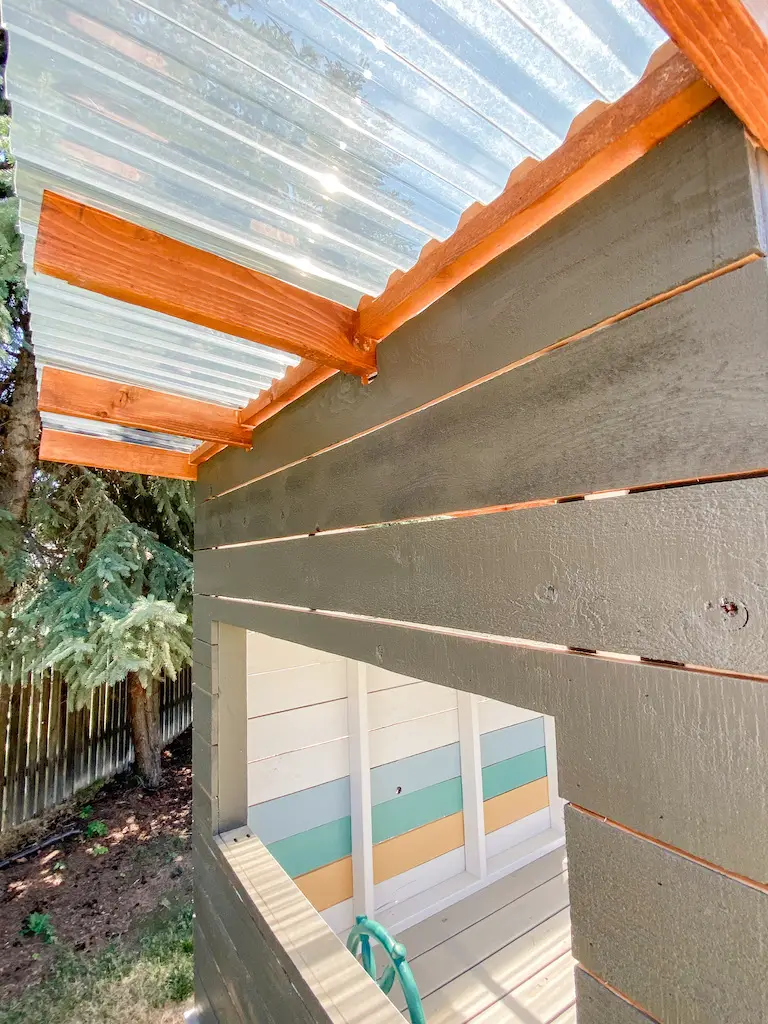
The other areas that required the jigsaw were the top rows on the front and back walls (narrow pieces with an angle at one end for the pitch of the roof), and the top rows on the side walls (narrower pieces with cutouts for the roof beams).
Once the siding was up, I applied 2-3 coats of exterior paint (Black Fox by SW). Seeing the siding up, along with the roof, was one of my favorite milestones. With the more involved building done, I could finally start focusing on some of the details!
