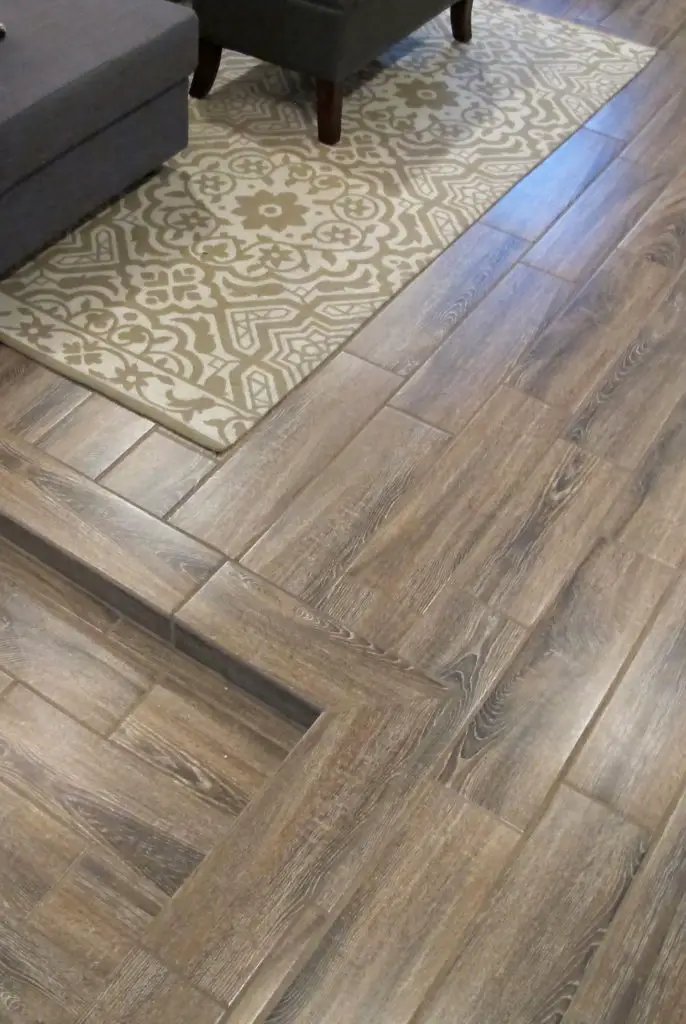
Faux wood tiles were the perfect choice for our century-old basement floors. Extra thinset was used to offset the uneven original foundation. We were left with some pretty gorgeous flooring (IMO) for our renovated basement.
DISCLAIMER: This post contains ads and affiliate links. At no additional cost to you, we may receive a commission for purchases made through these links and ads.
Okay so I’m skipping a post about drywall because a) that would be really boring and b) I can’t wait to tell you about my new basement floors!
If you saw how awful the foundation floor was in my basement, you might have a hard time believing what I’m about to reveal! It was so bad! It was probably the original foundation, and to replace the rough, bumpy concrete would cost a little over $10k.
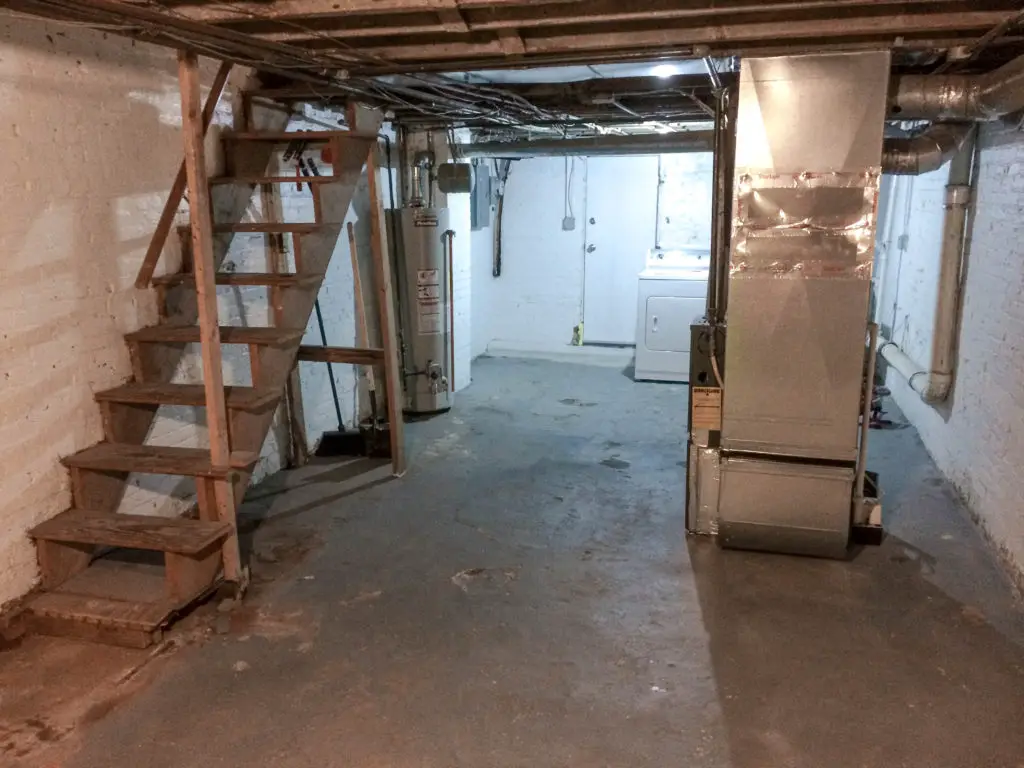
Initially, I was fine with just patching the bad areas with self-leveling cement, and then throwing down some concrete paint and an area rug. But my contractor, Marvin, had a bigger and better idea in mind…tile.
But not just any tile would do for me. Anything that looked like it belonged in a kitchen or a bathroom was out of the question. I have always loved the tile that looks like wood, but I was very skeptical that the long pieces could withstand the uneven floor and not crack. But Marvin assured me that they wouldn’t crack, so we were off to Lowe’s for 200+ sq feet of ceramic tile.
SHOP FAUX WOOD TILE –

Once I found the perfect (and very reasonable at ~$2/sq ft) wood grain tile, I could hardly wait for it to be installed. But first, the drywall had to go up, and any imperfections in the existing foundation were corrected as much as possible.

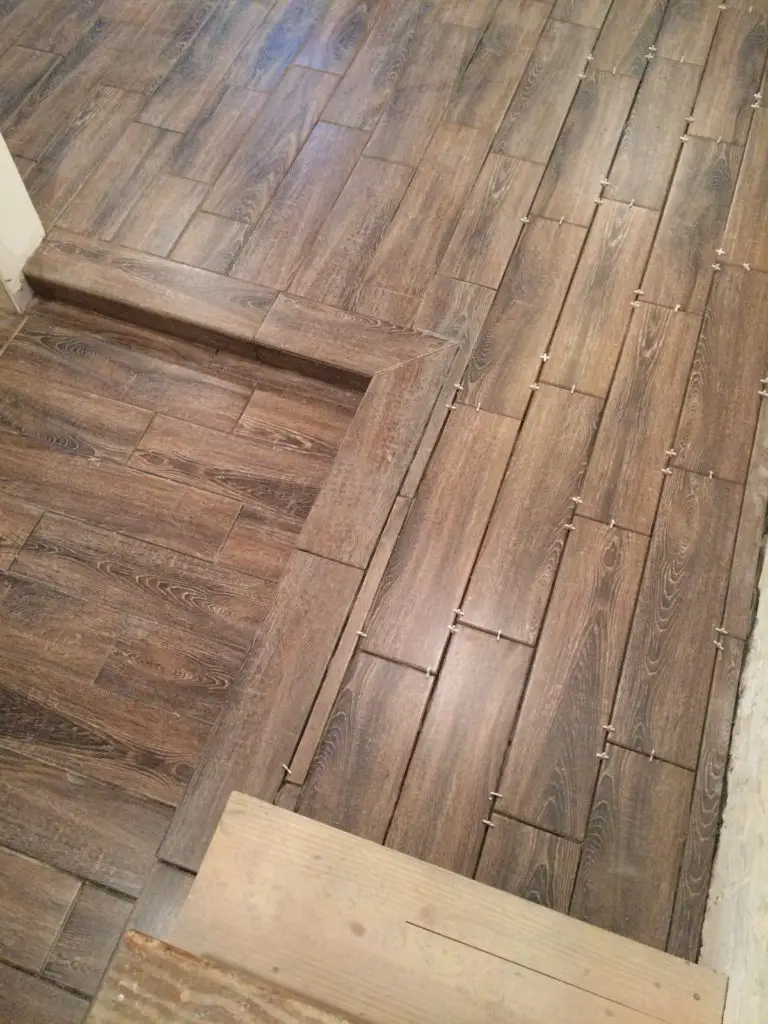
It was like Christmas morning every day when I came home from work to check the progress. It took them about 2 days to lay the tiles, and according to Marvin, almost 3 times the amount of quickset that is normally used (to compensate for the unevenness). But oh my gosh…I seriously do not think they could have done a more perfect job.
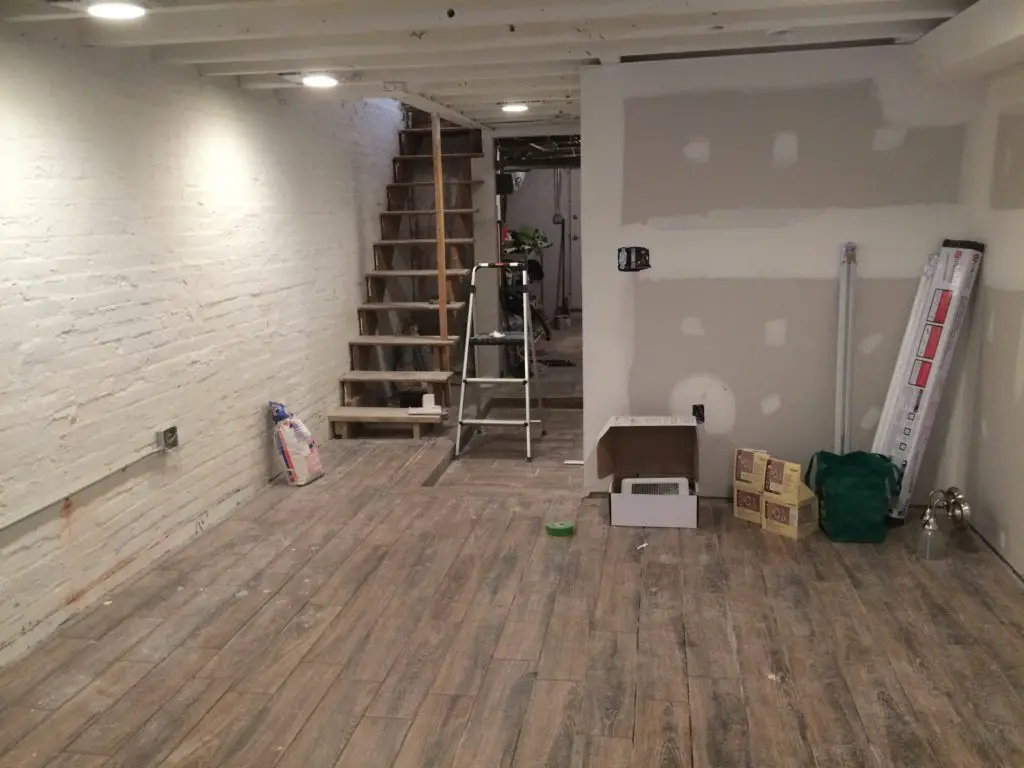

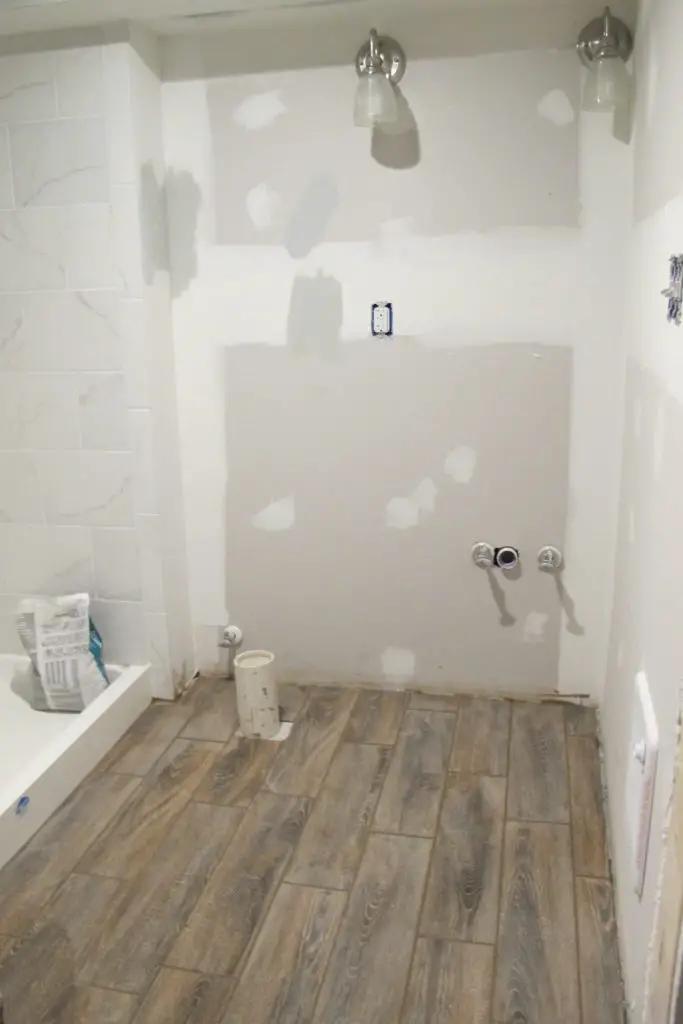
The tile was laid in a random fashion to help mimic a true hardwood floor. We rotated them 90 degrees for the recessed “hallway” and bathroom area, so those tiles lay perpendicular to the rest of the room. Switching the direction for that area made perfect sense. It helps make the change in elevation more noticeable, and I like to think that it makes for better “feng shui” since the bathroom floor tiles go in the direction of the bathroom door.
There was LOTS of happy dancing by all (Effie dog included) on the new floors once they were complete. With the drywall up and the floors in place, it was finally time to move on to some of the finishing touches!
Omg where did you get this tile? I love it!
We love it too! We found it at Lowes (this was back in 2015). The brand is GBI Tile & Stone Inc.