DISCLAIMER: This post contains ads and affiliate links. At no additional cost to you, we may receive a commission for purchases made through these links and ads.
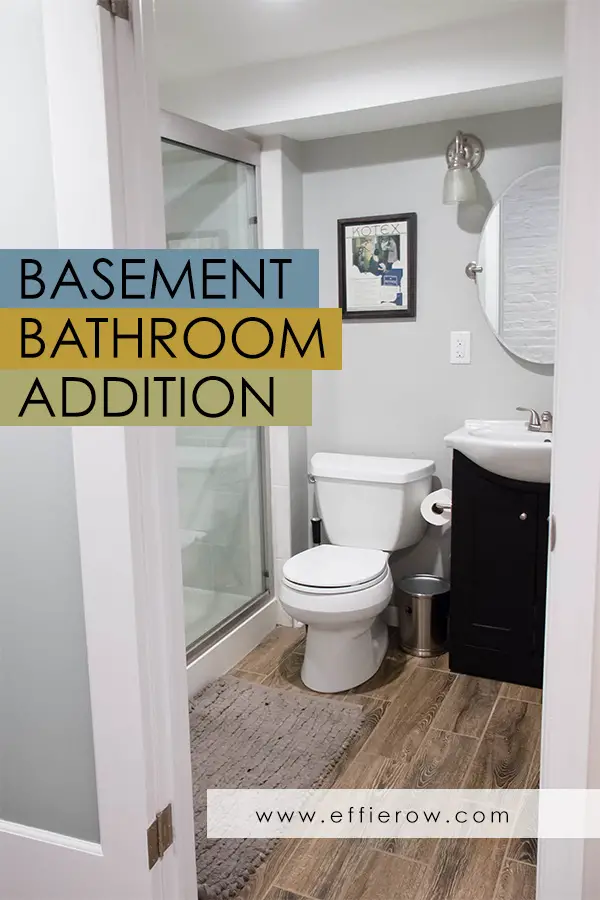
A big motivator for our basement renovation was adding a second bathroom to our house. A bathroom addition is a big project, but adding a basement bathroom can be especially challenging.
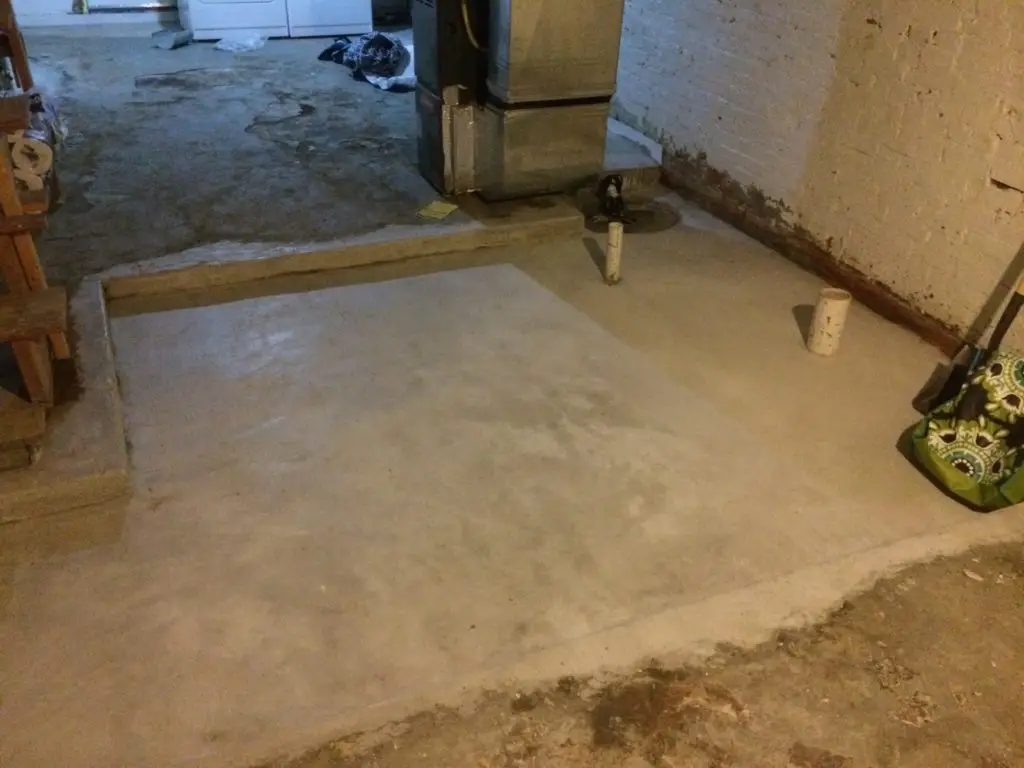
If you remember from an earlier post, we had to install a lovely “sewage ejector” to pump wastewater out to the level of our main sewage line. (It’s exactly what it sounds like).
Once the in-ground plumbing was complete, framing, electrical, and the rest of the rough-in plumbing moved along without much issue.
While planning the space, I intended to leave the above floor joists exposed and painted white like the rest of the basement. But once the electrical was installed, and we had wires running throughout the space, I realized that the better option was to drywall the ceiling.
Fortunately, the bathroom was dug out to be about 2″ lower than the rest of the basement. So that lessened my concerns about headspace with the floors joists were enclosed.

The main light source you see above actually doubles as an exhaust fan. We picked it up at Home Depot for a little over $100 and we love it. It’s super quiet and pretty darn effective.
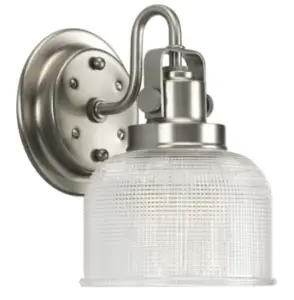
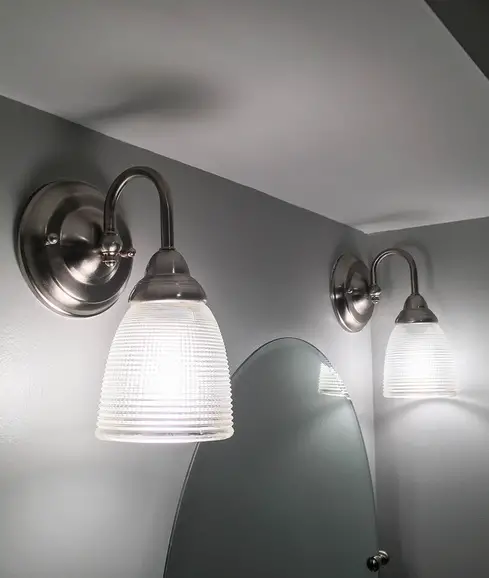
For vanity lighting, I originally planned on using a set of industrial-looking sconces I found for around $50 each. But while browsing through Lowe’s one day, I came across their selection of mix-and-match lighting and was able to piece together a similar style at a fraction of the price.
Since the bathroom does not have any windows to let in natural light, I opted for a different kind of window – one on the door! I can’t remember where I read it, but someone said that using a frosted glass door can help create the illusion of more space and light. Oddly enough, it might just be one of my favorite things about the entire basement. And for those wondering, privacy hasn’t been an issue.
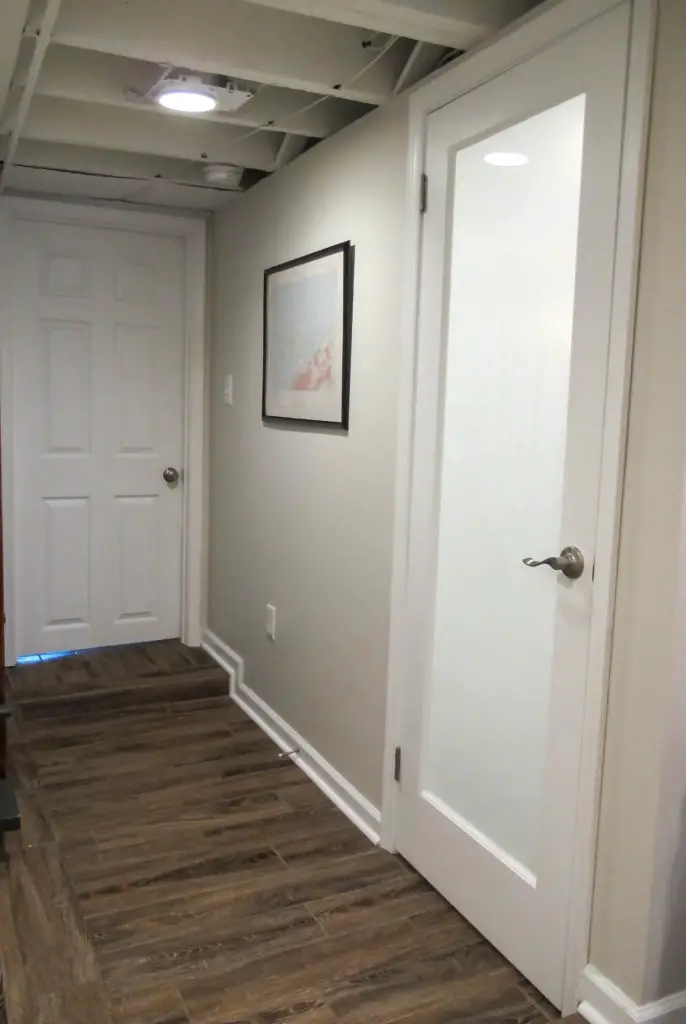
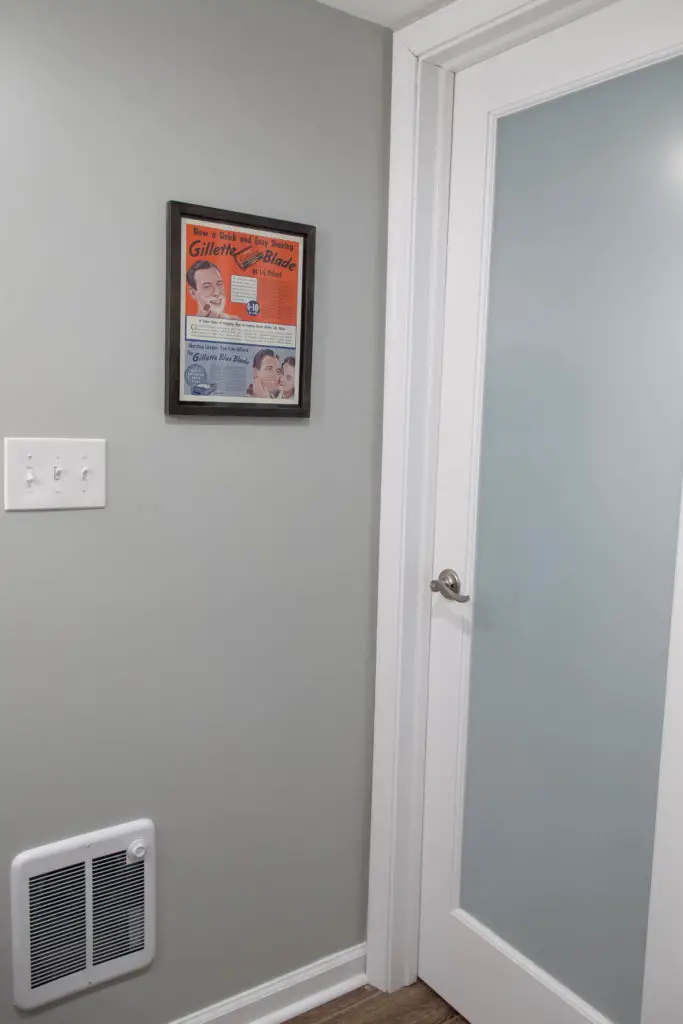
To give us as much wall and floor space as possible, we had the bathroom door installed to swing outward (towards the hallway). Without doing so, we likely would not have been able to install the wall heater. We don’t have an HVAC vent in the bathroom, so the little wall heater was a must (for our own comfort and also to meet code). And truthfully, if there is ever the option, there will be a wall heater installed in all of our future bathrooms.
In the shower, we installed a faux-marble ceramic tile. It’s simple but lends itself well to the age and style of the house. We used a matching, smaller, square tile at a 45-degree angle to highlight a recessed shower shelf.
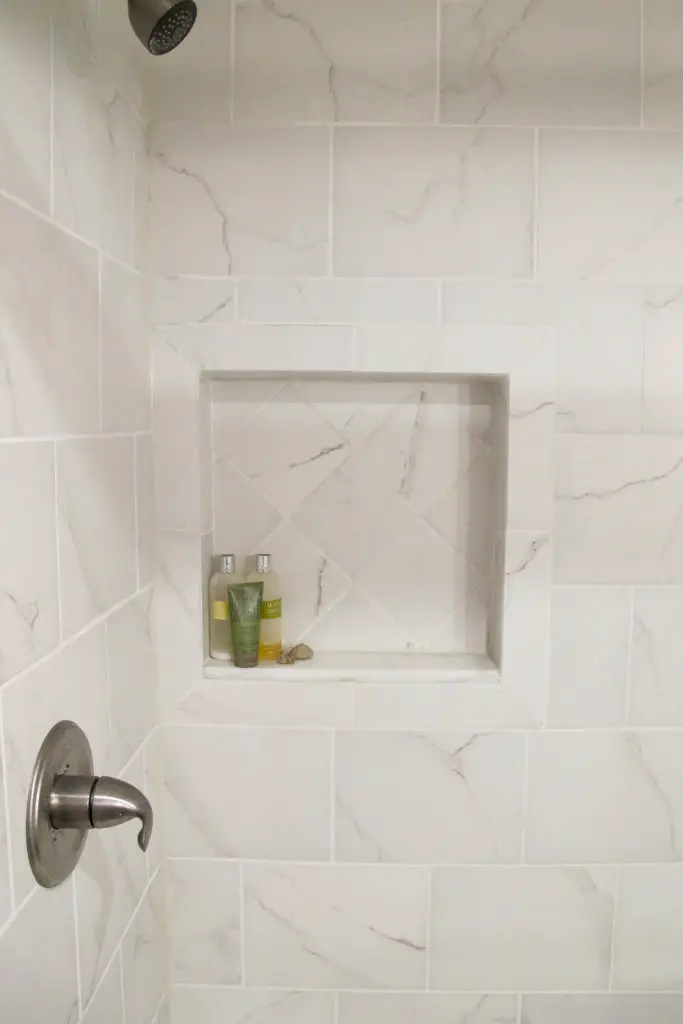
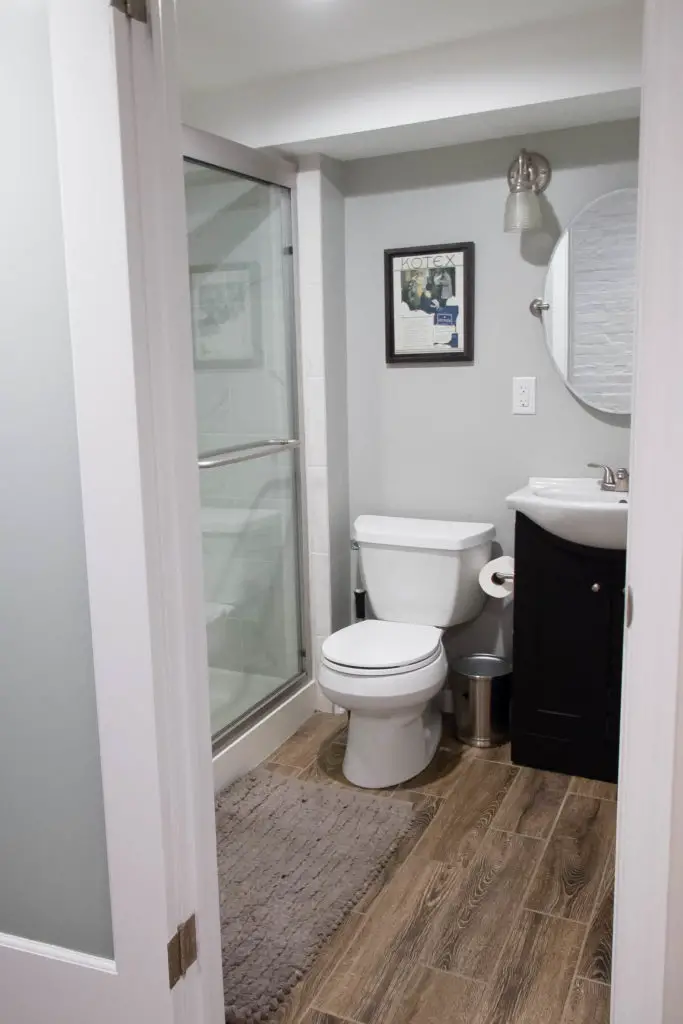
Thanks to the gorgeous sliding glass doors that Eric installed, our pretty shower tiles are on full display 24/7 (as opposed to being hidden by an ordinary shower curtain). It took a lot of convincing for me to agree to buy shower doors, but I am so so glad that we did!
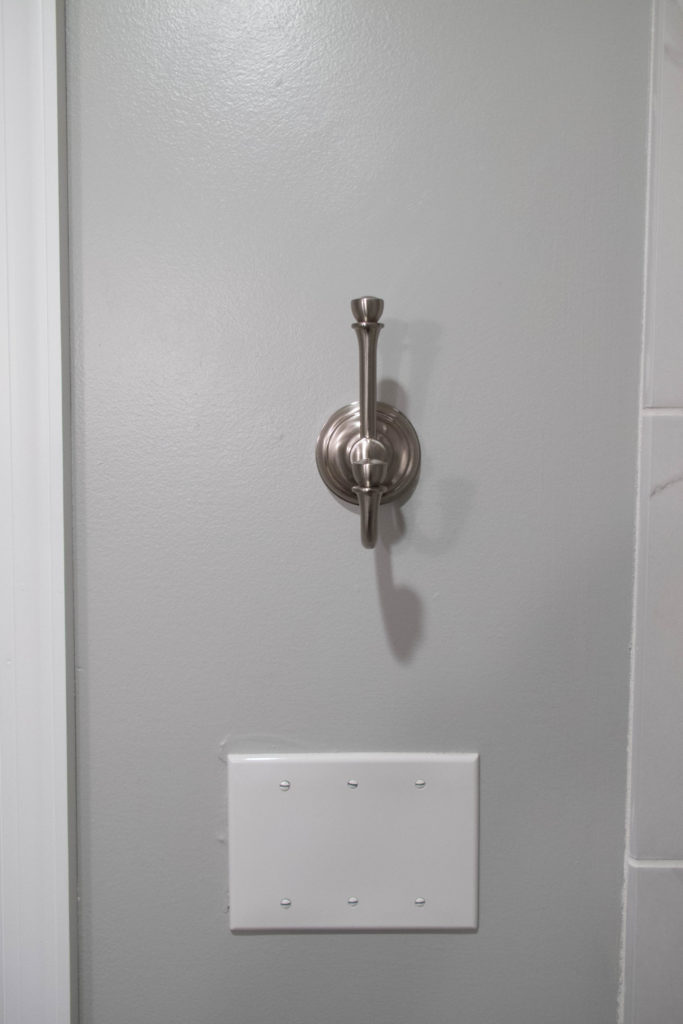
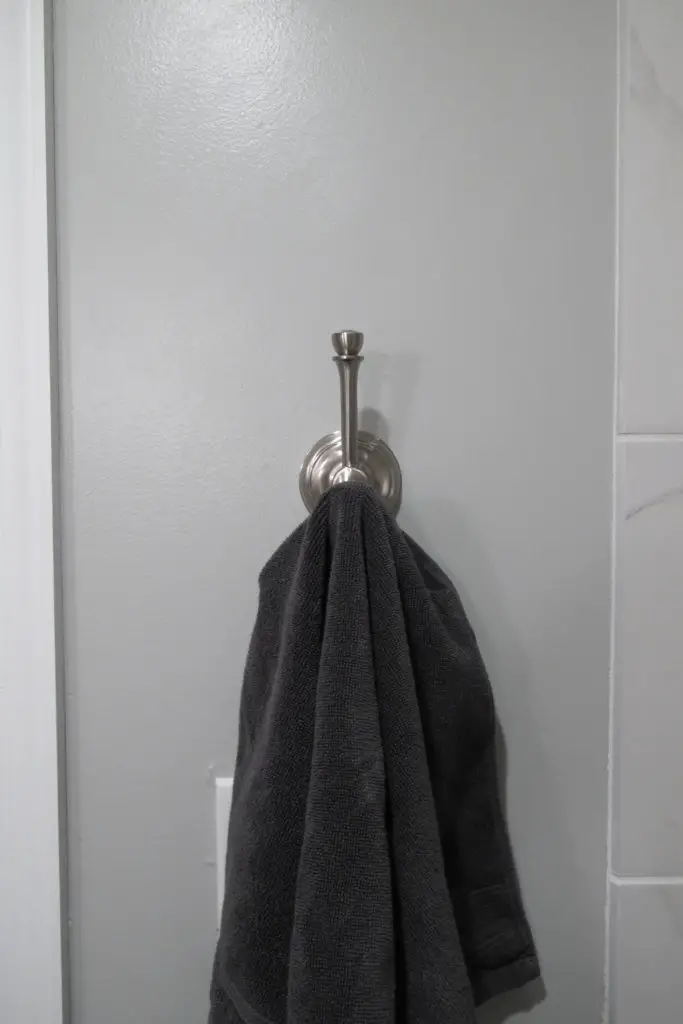
Somewhere in the process of our project, the light and electrical switches for the bathroom had to be moved. This left us with a good-sized electrical plate cover. So to cover the eyesore, we simply installed a towel hook directly above it. Now you see it, now you don’t!
And finally, to give the bathroom some character (and wall decor), we framed a couple of old print ads that we picked up at Pike Place market. I love them – however, Eric is still coming around to the Kotex ad!
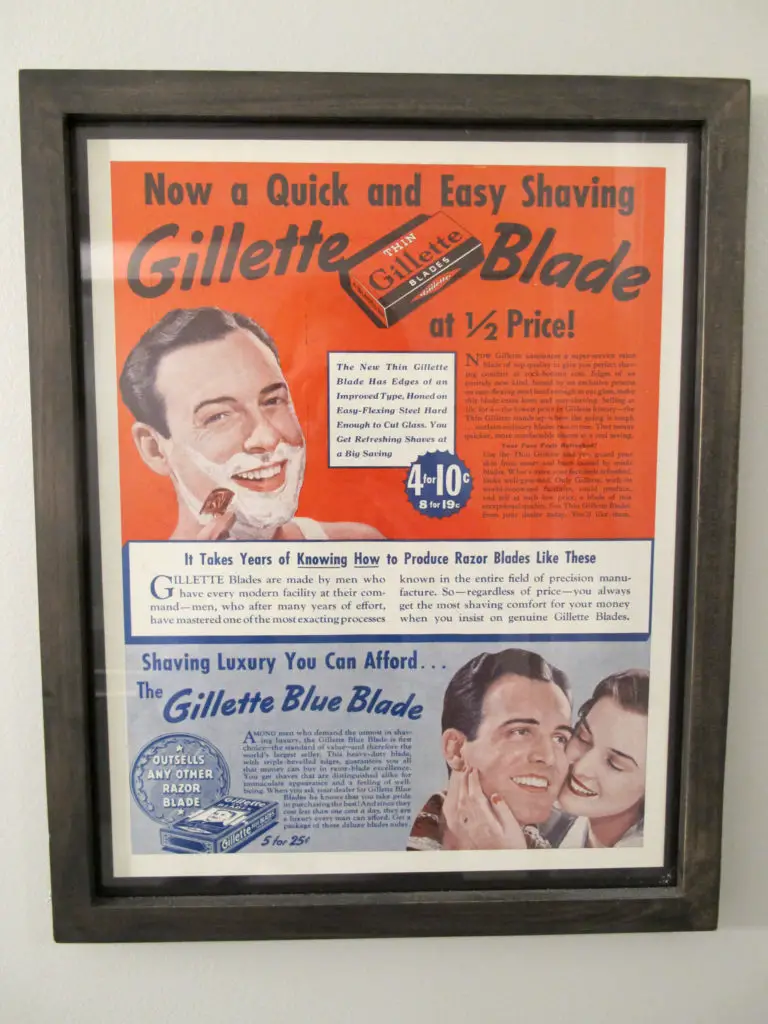
Kotex ads aside, there isn’t anything either of us can complain about with our bathroom addition. It’s hard to imagine a time when we lived with only one bathroom in the house. Adding a bathroom was a daunting task to take on, but we are so glad we did it.
When you are in the basement, with your exposed floor joists, is it loud when folks are walking in the floor above? We are considering leaving the floor joists exposed on the main level of our cabin with bedrooms above, ceilings are only 7 1/2″ tall. We don’t want to leave if you can hear every step taken and conversations…what is it like leaving them exposed?
Thank you!
Hi there! Sorry for the delay….You can definitely hear footsteps (as we expected), and maybe some muffled noise every now and then depending on how loud people are talking or how loud the TV is. The basement also functions as a guest room, and the noise from walking definitely isn’t ideal, but we don’t have much to compare it to since the joists were always exposed.
Would you be able to give us the name of the faux marble shower tiles. Love the look!!
I don’t have the name:( It’s been a couple of years since we have done this project. I’m pretty sure I got them at Home Depot (if not Lowes). I’ll be better about keeping track!
Can you tell me the paint color of the exposed floor joist ceiling in what looks like the hallway outside the frosted glass door? Thank you!
It’s just Sherwin Williams “Fast Drying Primer”