DISCLAIMER: This post contains ads and affiliate links. At no additional cost to you, we may receive a commission for purchases made through these links and ads.
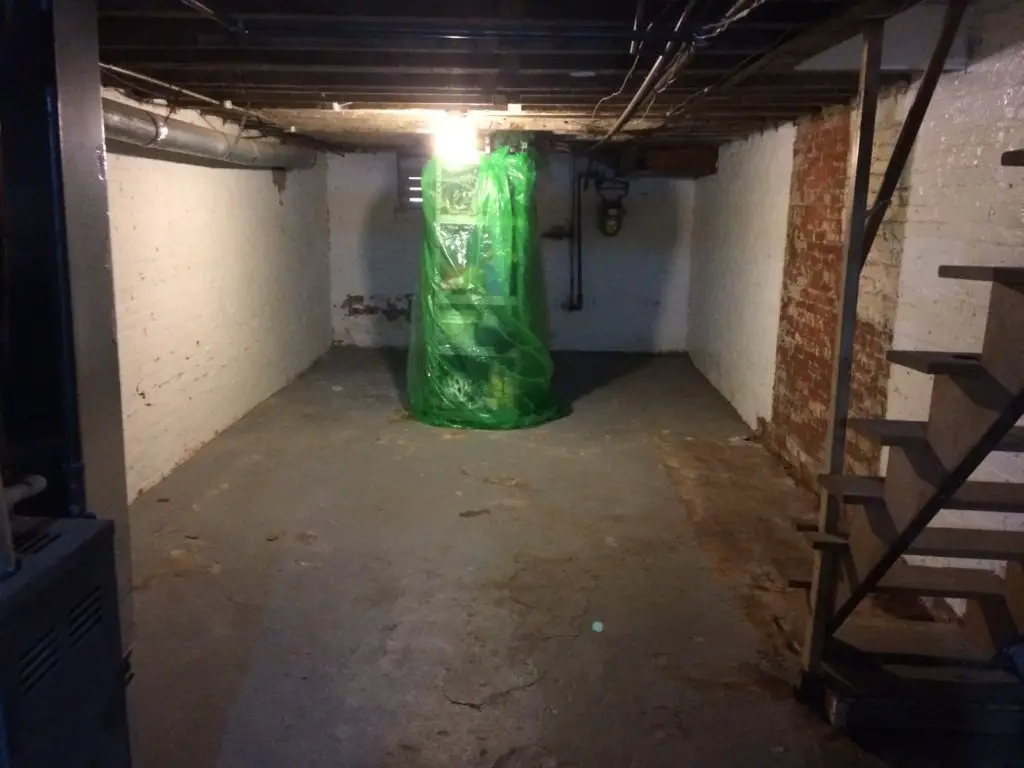
When house hunting in Baltimore, I knew that a finished basement would probably put me over my budget (or it would be an outdated finished basement with drop ceilings and mysterious carpet stains). Instead of looking for a finished basement in my price point – I kept the idea of a future reno in mind as I toured each house.
Almost every house I looked at had a basement, but some of them were just barely deep enough to stand up in comfortably. One of the selling points of the home I purchased was the depth of the basement. It was just deep enough to where it wouldn’t have to be dug out and underpinned (a process by which the foundation is dug out and lowered below the existing brick walls, thus costing a fortune).
Q&A: Many have asked how tall (or short) our ceilings are. In the main living area they are roughly between 6’6″ and 6’8″ to the bottom of the beams (depending on where you are standing).
How It All Got Started
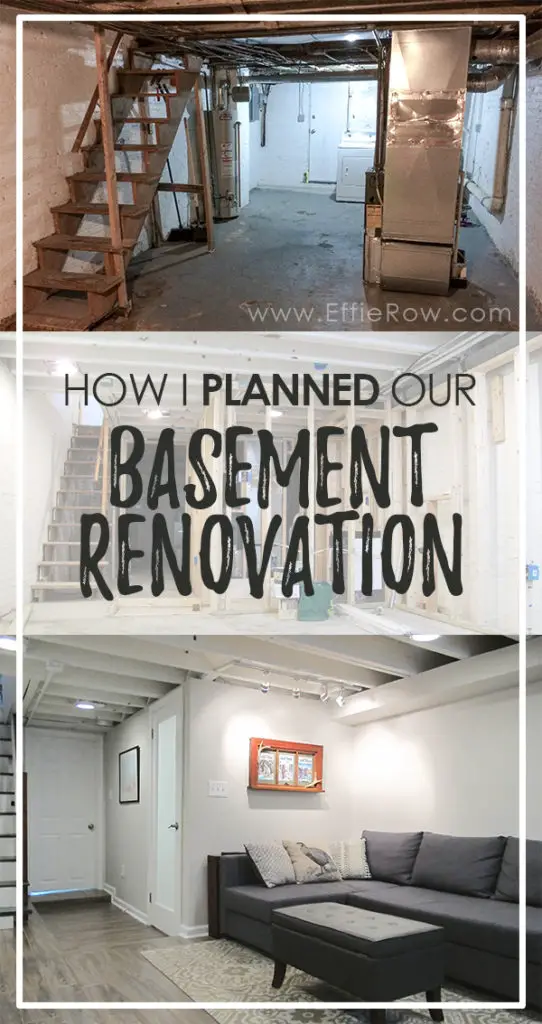
The basement renovation started when I began looking into adding a bathroom to the home (to bring the total to a whopping two). I considered plenty of options on how to make this happen. But adding a bathroom addition to the back of the house or converting space upstairs would cost more than the price to add a bath AND living space to the basement. So the decision to renovate the basement and add a bathroom became an easy one. Plus, the only space I was “giving up” was a dark, damp, dingy basement…

Deciding on a Layout
But before getting started on the renovation – there was A LOT of planning to do. From my experience, here are just a few things I recommend considering when installing a basement bathroom-
- Do you want to utilize any existing windows or exterior doors in your new bathroom?
- Is part of your basement deeper than others? You may want to have the bathroom in a deeper area if you are adding a shower (our basement is sloped for drainage, so one end is noticeably deeper than the other).
- Will the location make the bathroom feel like part of the house or just the removed water closet at the farthest corner?
- Where are your existing water lines (hot & cold) and sewage? Will they have to be rerouted to accommodate the bathroom? Will the new supply lines get in the way of anything else?
- How will you provide ventilation? If there is no opening window, you must (by code in most areas) have an exhaust fan that vents to the outside. Will you be able to vent it up through the roof, or will you have to go out through the side of the house?
- Do you plan to have central air and heat in the bathroom? Will it be feasible to tie in the existing ductwork?
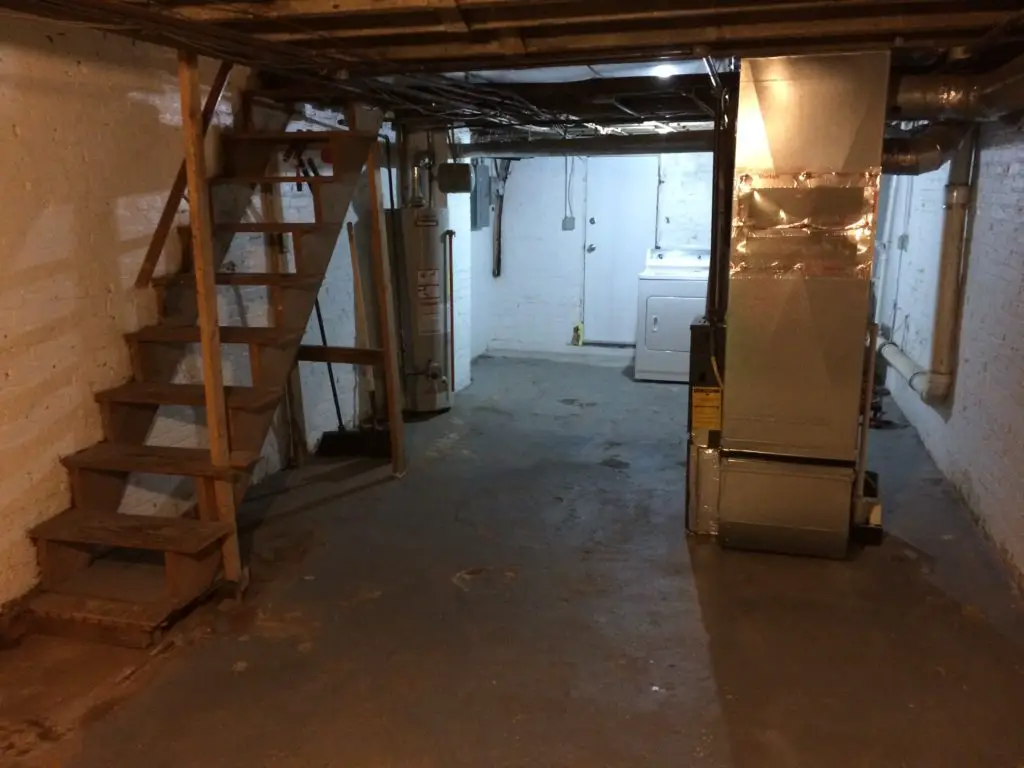
After taking into account all of these things, I finally settled on where the bathroom was going to be located. Initially, I was certain that I would locate it at the very back of the basement along with the laundry (where the basement was the deepest). But after getting some input from others (get input from anyone and everyone!), it made the most sense to put the bathroom near the base of the stairs. The basement was already awkwardly divided into two spaces because of the furnace. So adding the bathroom next to the furnace made the layout seem very intentional. Plus it left me with both a good size room for living space and a good size laundry and storage.

Ok – but what about plumbing?
If you are new to the idea of adding a bathroom to your basement, it’s a bit more complex than just throwing a toilet and a sink down there. If your main waste line is above foundation level (you can see mine is right next to the furnace), you are going to have to install a sewage ejector that essentially defies gravity. But enough talk about sewage ejectors (gross)! From now on it will be called “Bertha.” Bertha is a big ‘ole barrel that is installed into the ground, so everything from the bathroom can drain according to gravity. And then Bertha gracefully forces everything to the level of the main line. Hooray!

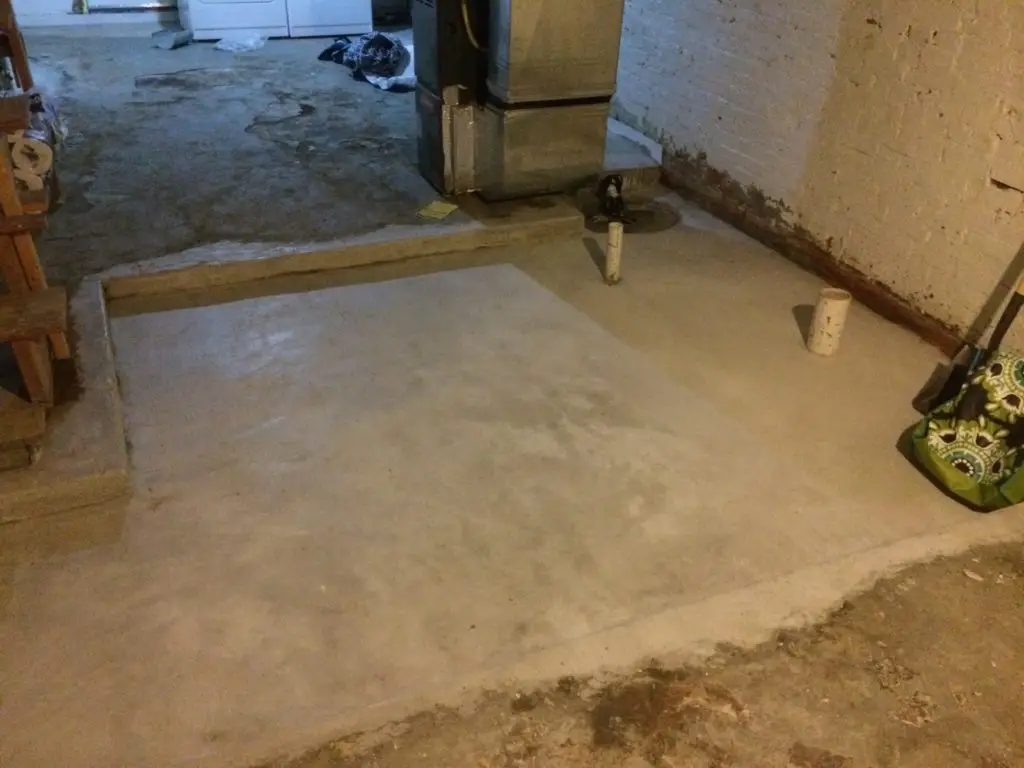
Above is a photo after the plumbing drains and sewage ejector had been secured with new concrete. Notice how the new bathroom area is lower than the surrounding floors? That is because the crew I worked with was awesome enough to get me an extra 2 inches of depth in that area before filling everything with concrete. An extra 2 inches of height in a basement is HUGE, even if it’s just the bathroom. On the downside, that area of new concrete was a pit of red clay dirt for two weeks while we waited for the city to come and inspect the work. But once we passed inspection it was on to framing and lighting the space!
LINKS TO ALL POSTS IN THIS BASEMENT SERIES:
Basement Bathroom Addition
Painted & Upgraded Basement Stairs
Basement Made Beautiful: Part 1 – Planning & Plumbing
Basement Made Beautiful: Part 2 – Framing & Lighting
Basement Made Beautiful: Part 3 – Flooring
Basement Made Beautiful: Part 4 – Finals Touches & Reveal

Love it!! We are redoing one half of our basement. So far, new vinyl plank flooring, windows, drywall patched and it’s all primed ready to paint. You did a beautiful job with yours!!
Thank you so much! Basement renovations can be so daunting but the transformation is amazing. Best of luck with your project and enjoy your new space!
Can we see pictures of inside the finished bathroom? We’re in the middle of a similar project and I would LOVE to see yours.
THANK YOU! Your space looks amazing!
Hello! You can see pictures of the finished basement bathroom here: https://www.effierow.com/creating/basement-bathroom-addition/
Did you use a contractor for the work? It turned out beautiful. We live in the Baltimore area too and are looking for recommendations.
We did! We came across him somewhat by chance. I don’t know if his contact info is up to date anymore but I’ll send you an e-mail with what I have.
Hi,
How tall are you ceilings?
I think we were right around 6’6″ to 6’8″ to the bottom of the beams
Thanks for the tips! My team decided to start working from home for good so I needed to transform my basement into an office. It was “semi-finished” with an old wood floor that we were able to get refinished, but the rest was kind of a disaster. Anyway, I’m excited to see what we can get set up now.