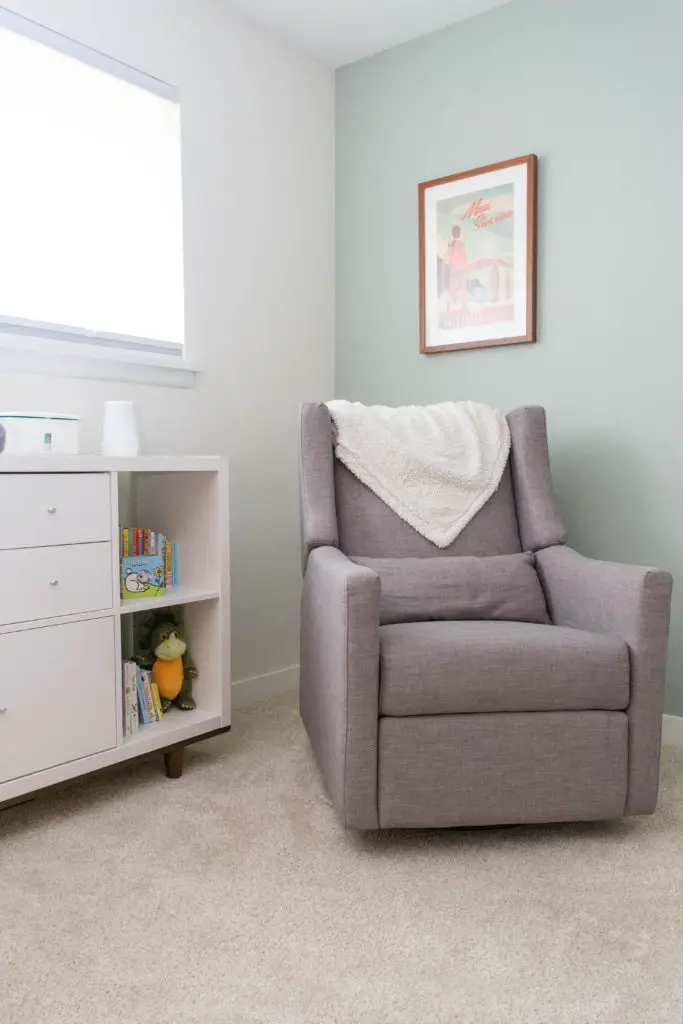
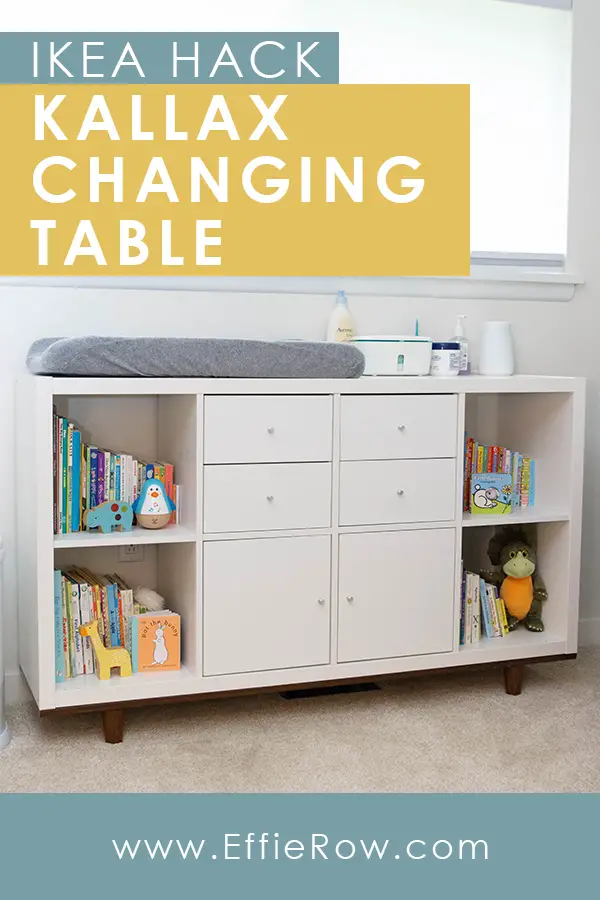
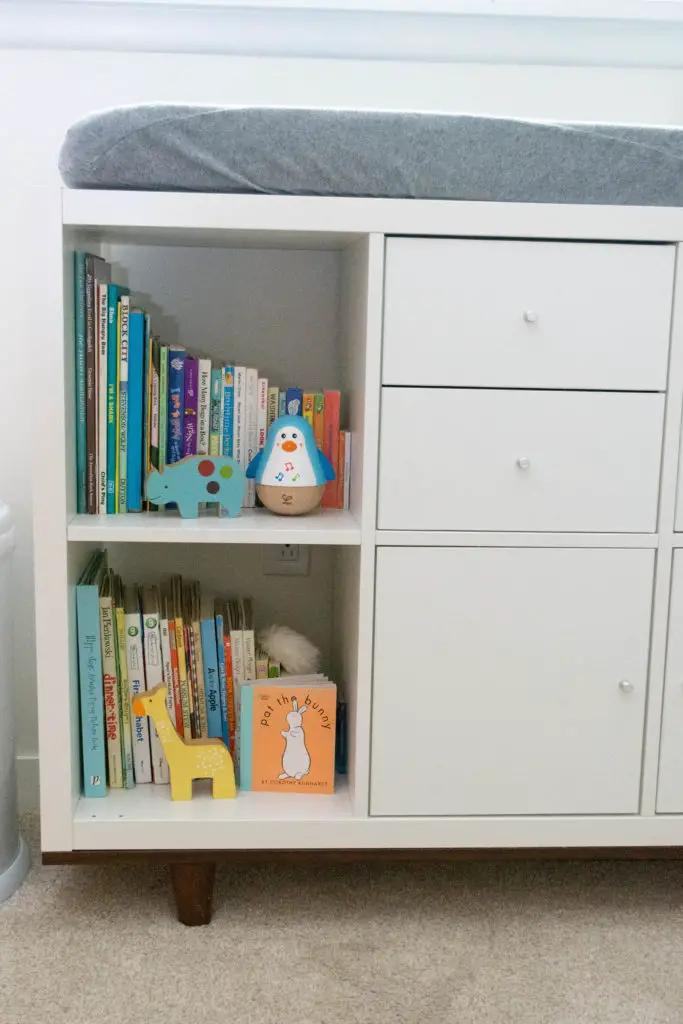
Ikea’s Kallax unit makes an amazing changing table. We customized ours by using the Kallax drawer and cubby inserts, and by adding custom trim and legs.
DISCLAIMER: This post contains ads and affiliate links. At no additional cost to you, we may receive a commission for purchases made through these links and ads.
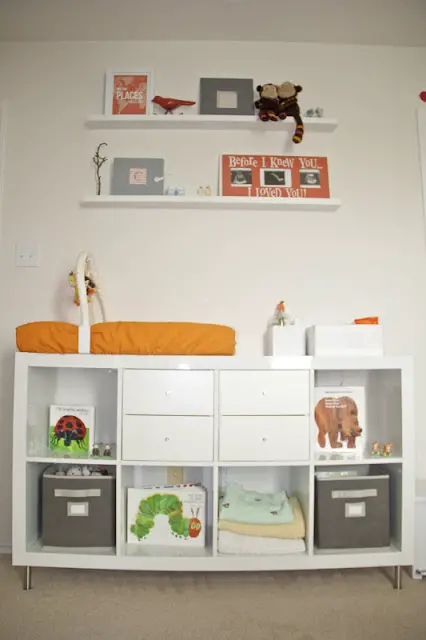
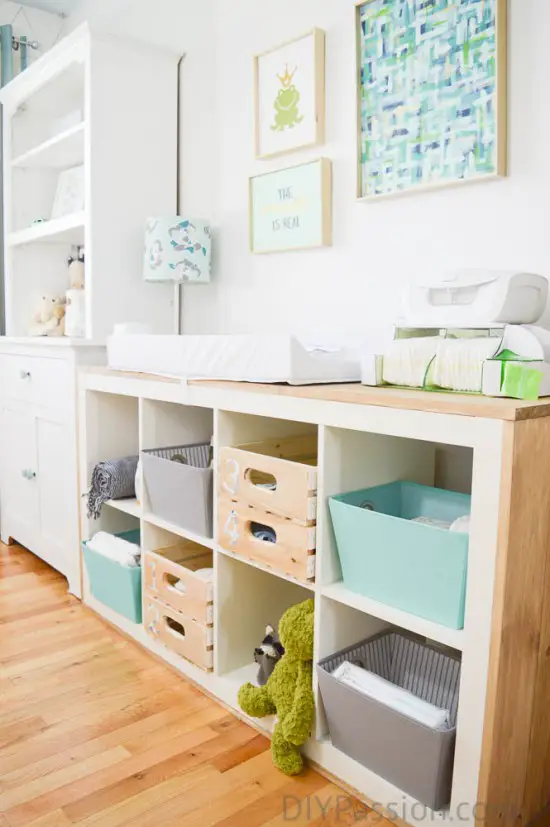
Our son’s room is not very generous on space so I definitely wanted a changing table that could serve more than one function (and eliminate the need for additional furniture). It didn’t take me long to be inspired by the amazing Ikea Kallax changing tables on Pinterest.
If you aren’t familiar with the Kallax unit, it has a bunch of different inserts you can add to customize your piece. The addition of doors and drawers meant that it could not only be a changing table, but also a bookshelf, dresser, and storage for various baby essentials.
Perhaps one of the most enticing parts about “hacking” a Kallax unit was that it could be easily customized to match our Baby Mod Marley crib.
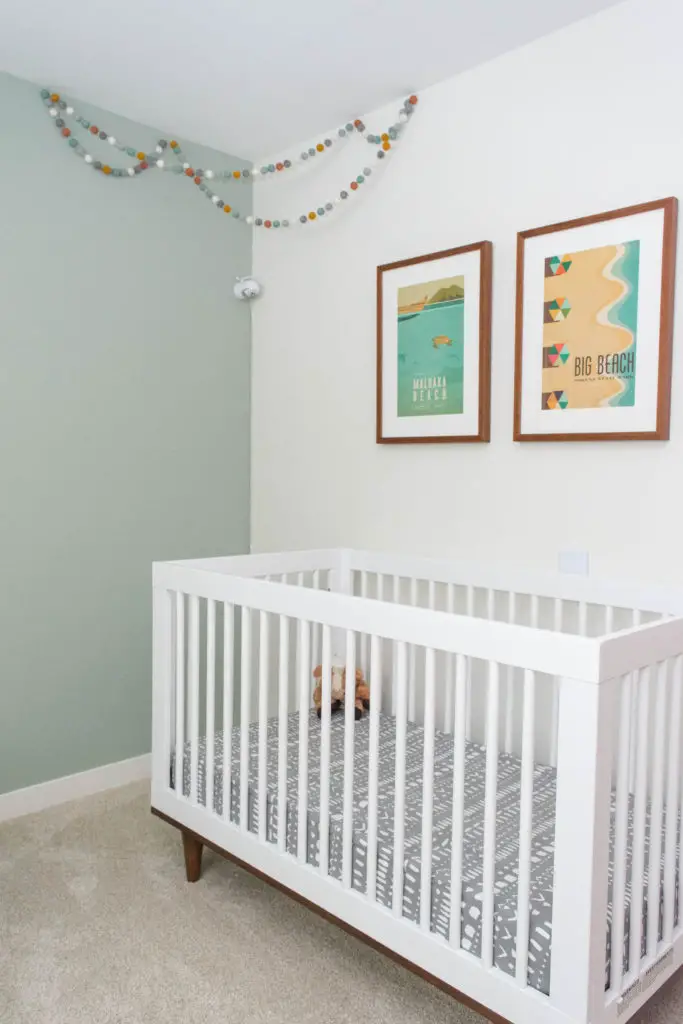
The best place for the changing table in E’s room was below the window, which also happens to be directly over an air vent. So adding legs was a necessity that also helped create a cohesive look with the crib.
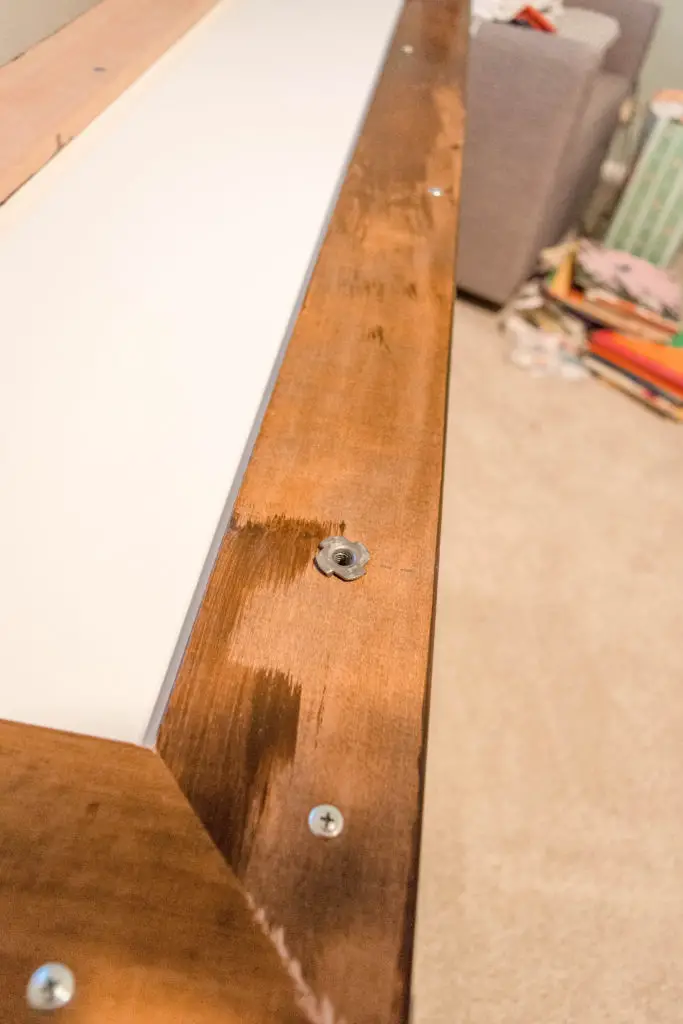
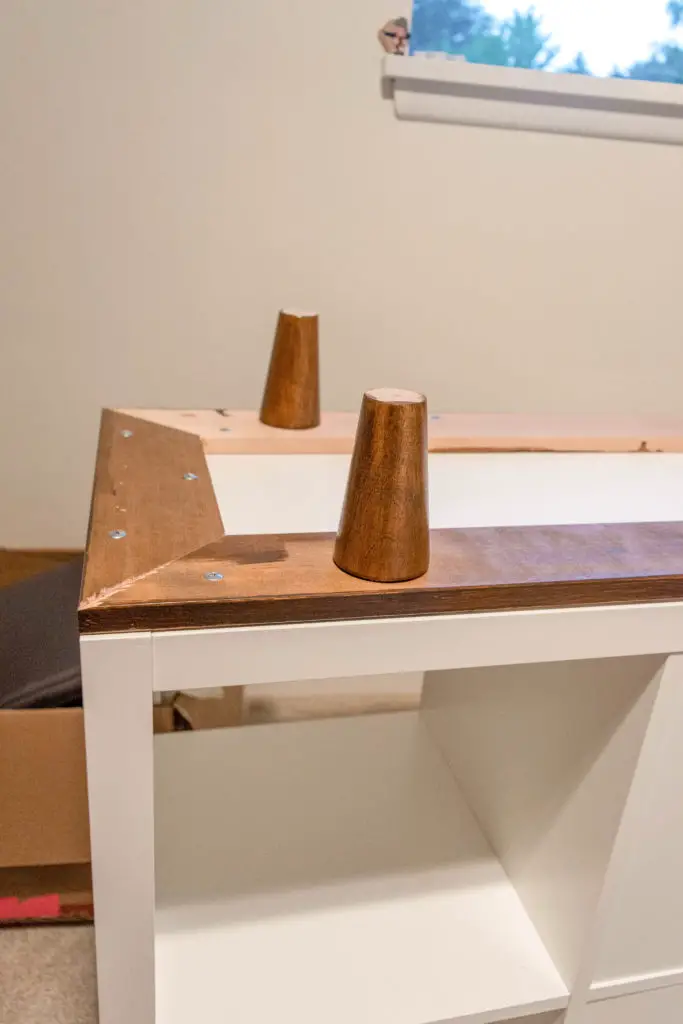
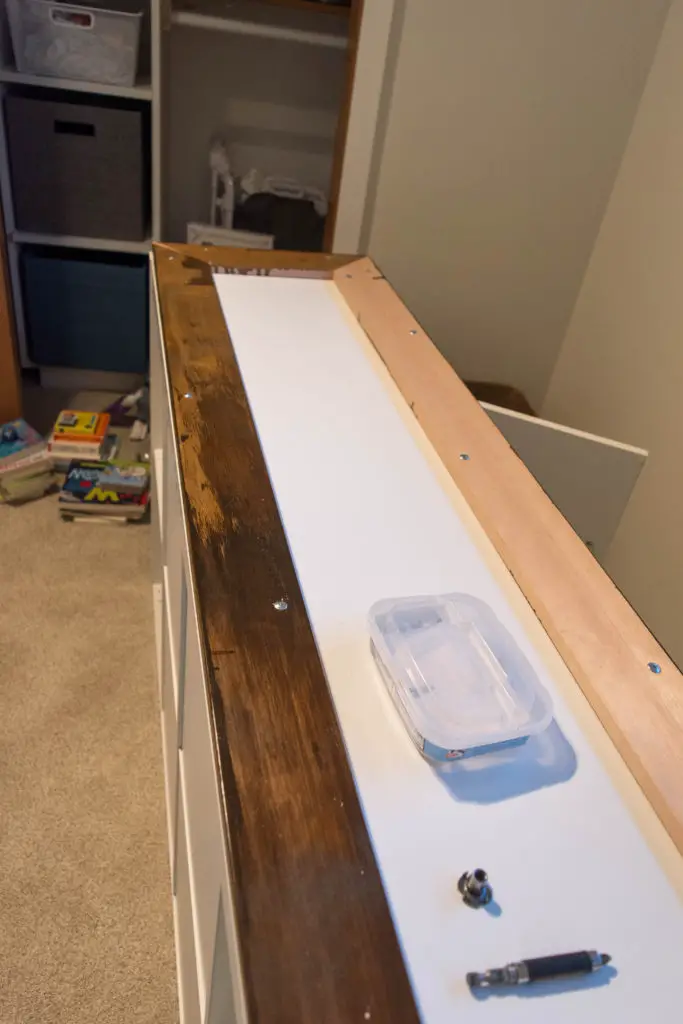
The first step was staining a few hemlock 1x4s to match the wood trim on the crib. I used satin Minwax Polyshades in Mission Oak. It really doesn’t matter what the wide surface of the 1x4s will look like – the only thing that is going to show is the 3/4″ edge (hence the sloppiness in the picture below). The 1x4s were then cut to length and screwed into place.
Tip: Let each layer of Polyshades fully dry and buff with super fine steel wool. Wipe away the dust before applying the next layer. Finish with a coat of clear Polyurethane. You will be amazed at how smooth and even your finish feels.
I purchased four 4″ tapered legs from an online retailer (which is sadly no longer in business). They were stained with the same Mission Oak Minwax Polyshades. To install – we pre-drilled holes and then hammered t-nuts into place. The legs came with pre-attached screws, so all we had to do was twist them into place.
We added a contoured changing pad to the top (which is secured with a band to the back of the unit) that can easily be removed in the future to evolve with our needs.
That’s all it took to create our custom changing table! Most people have no idea that the crib and changing table were not bought as a set.
The proximity to the rocking chair has made things very convenient during our evolving bedtime routine. I truly love that the finished piece has so many functions and a mix of open and closed storage. I know we will get great use out of this piece for years to come!
