It wasn’t long after moving into our new house that I started to look for some dining room storage. We were using a refinished dresser from our home in Baltimore, but it wasn’t very practical. I was open to a variety of options – everything from vintage china hutches to ornate cabinets. I even considered hiring someone to make cabinets to match our kitchen.
DISCLAIMER: This post contains ads and affiliate links. At no additional cost to you, we may receive a commission for purchases made through these links and ads.

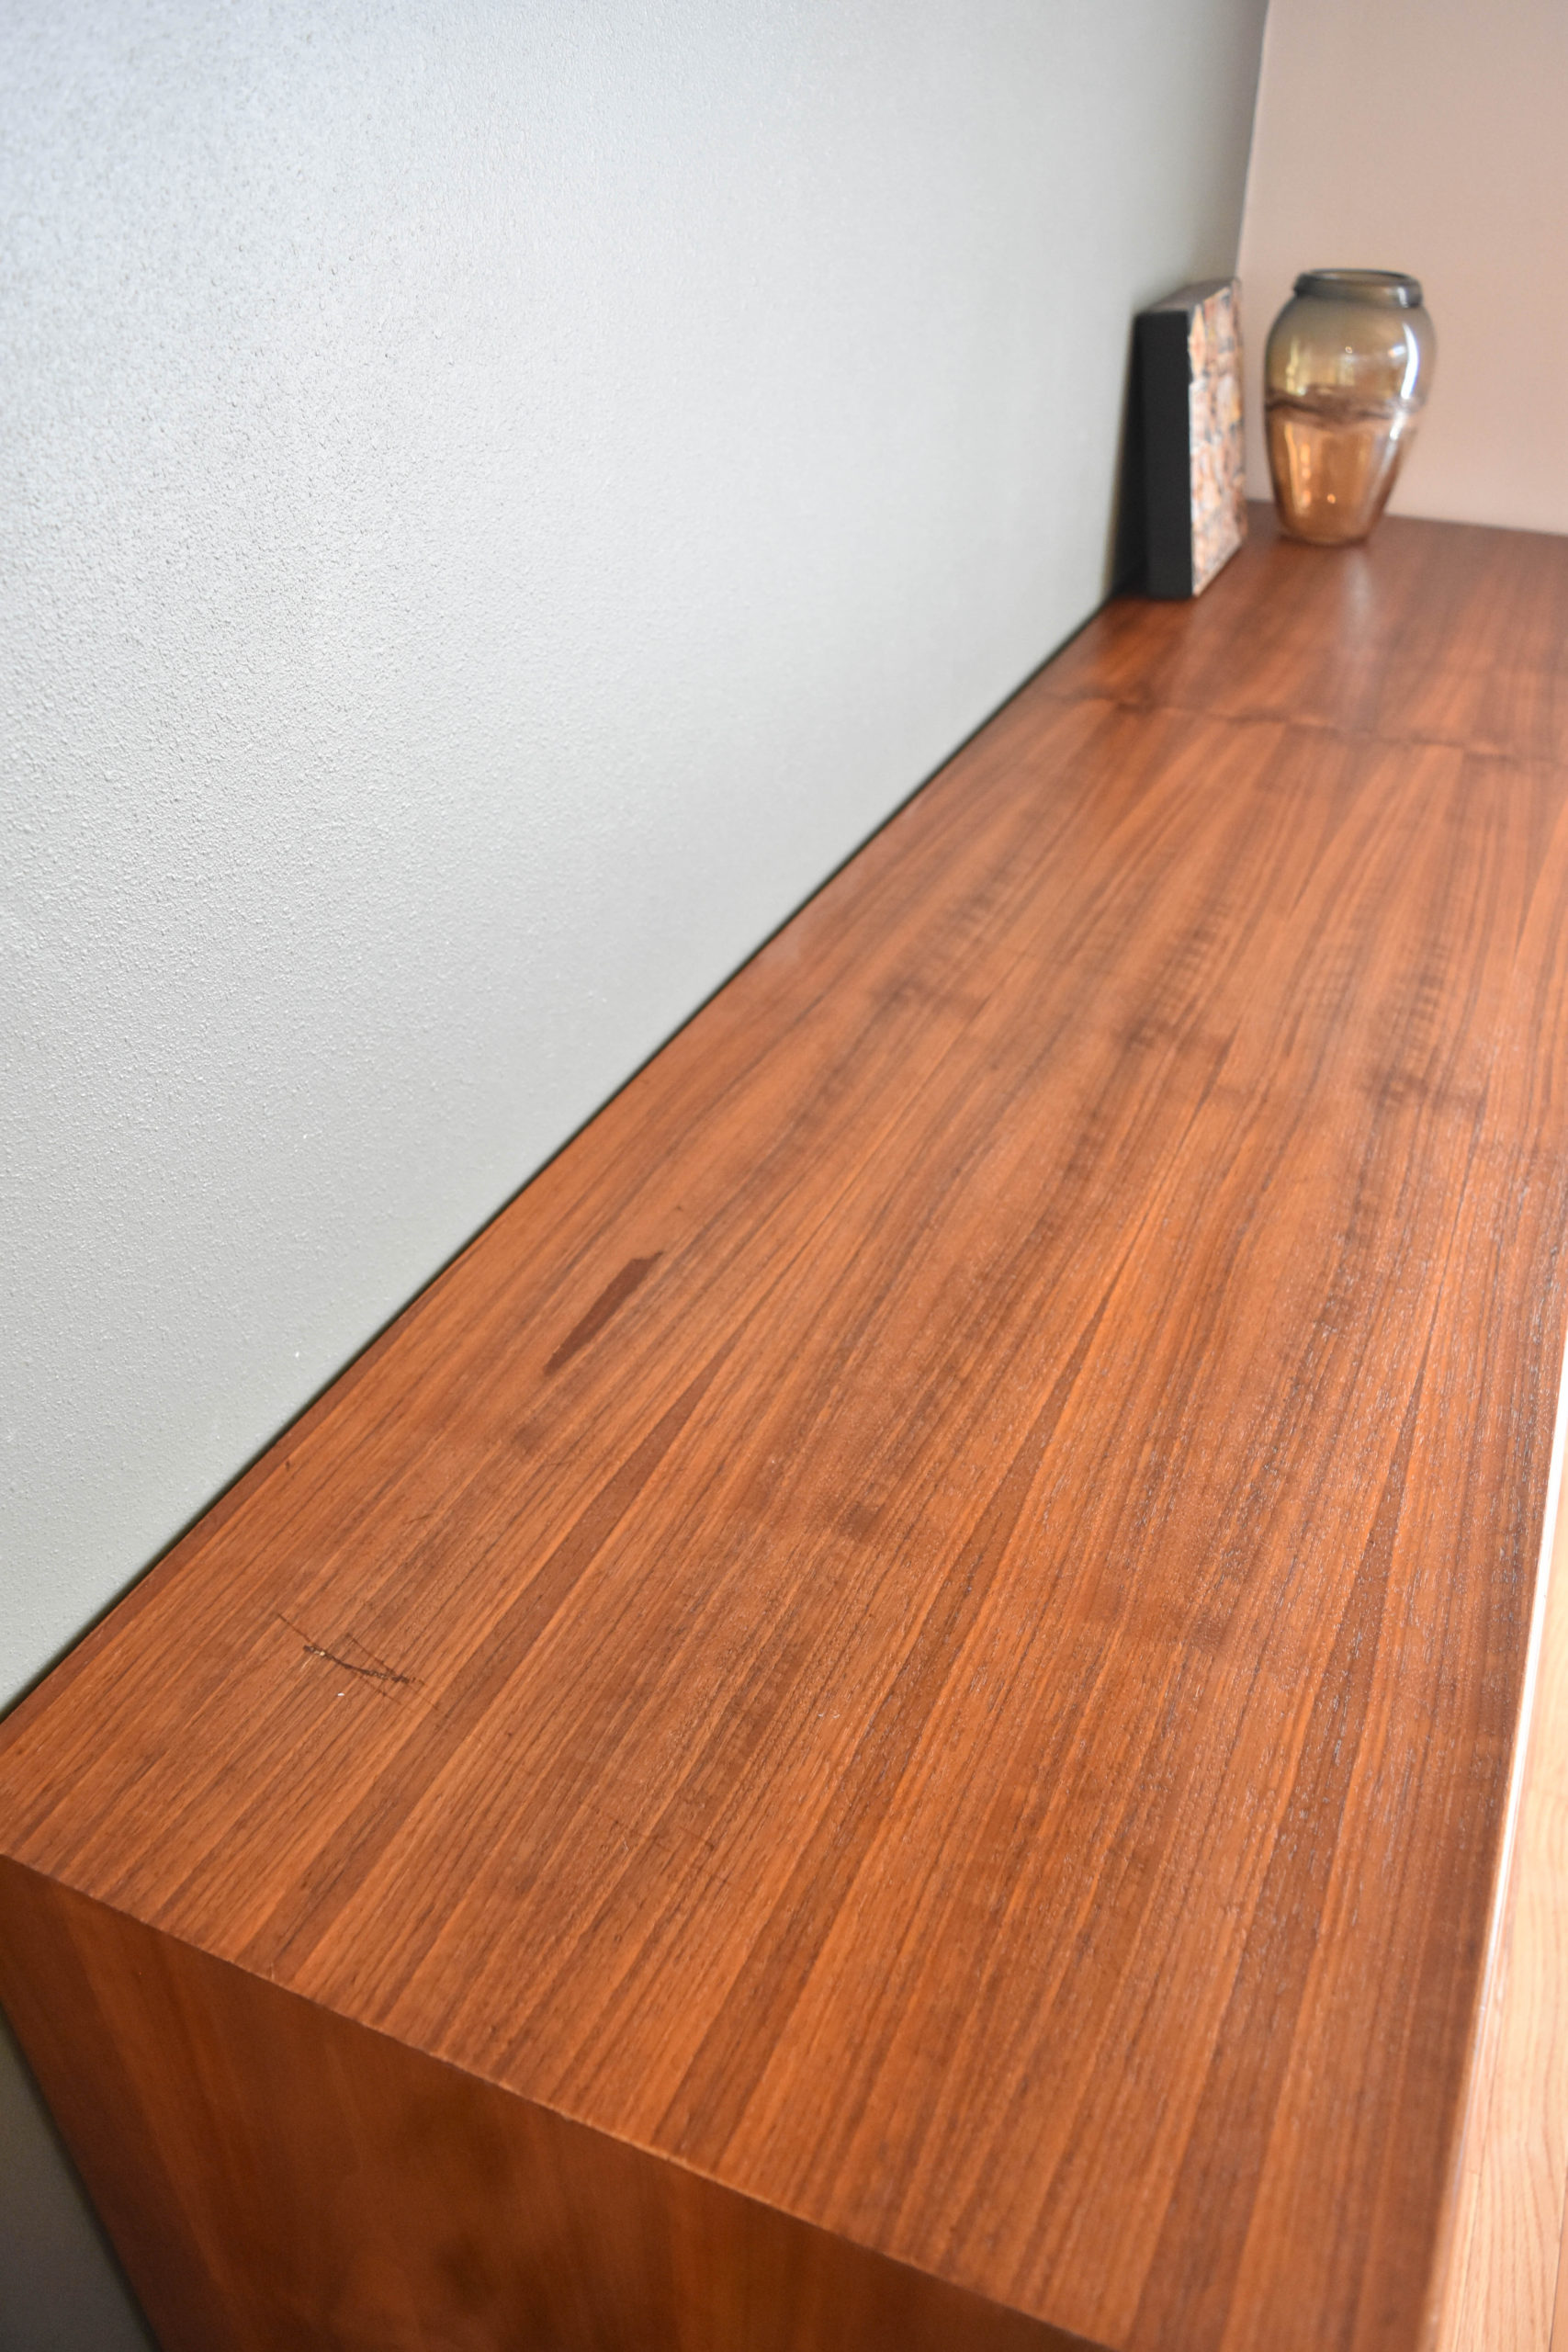
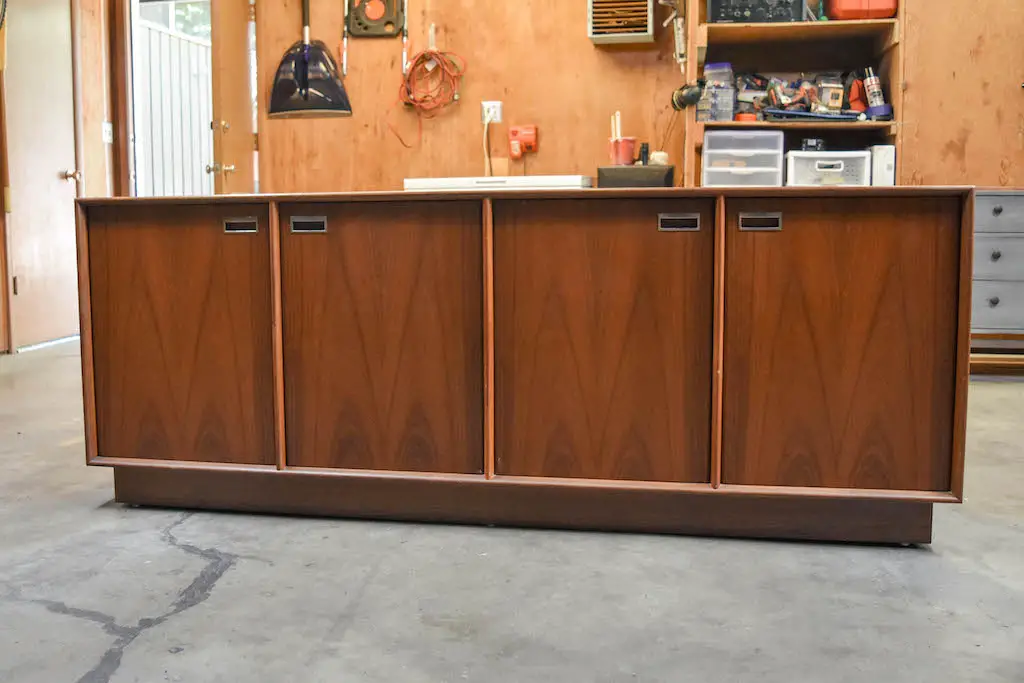
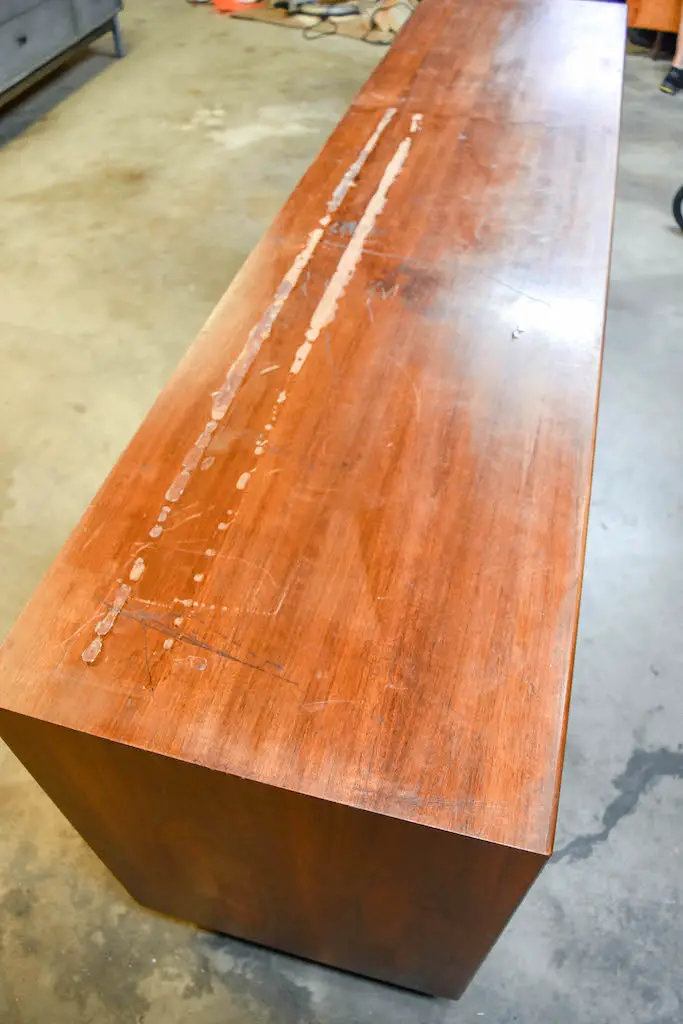
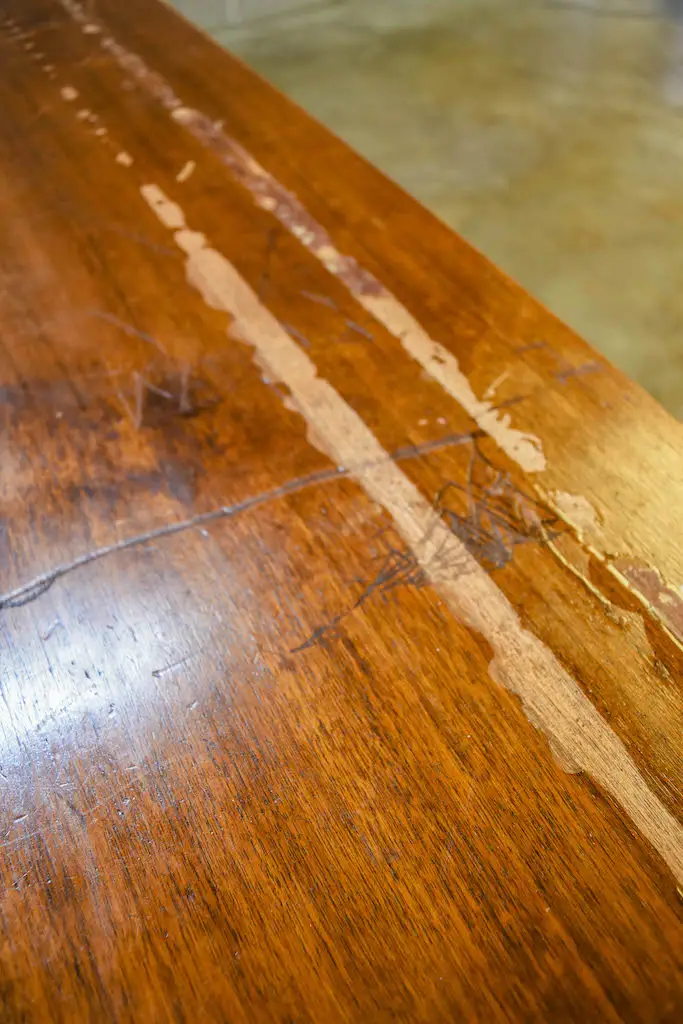
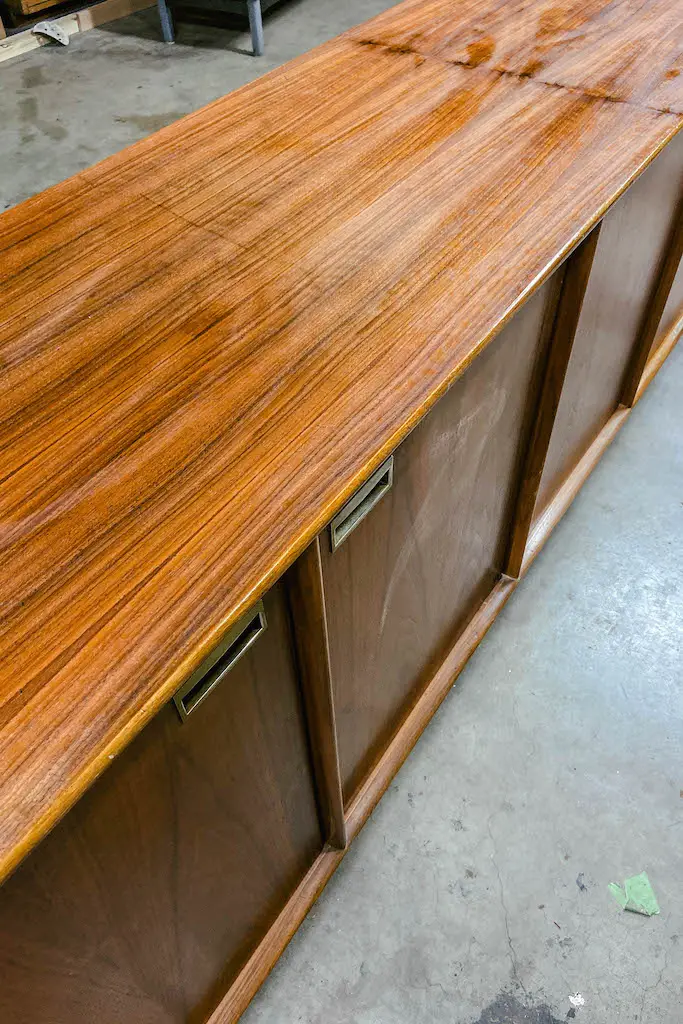
But one lucky day I came upon a seemingly perfect mid-century buffet on Craiglist. I was smitten. It almost didn’t happen, but after the first buyer fell through the sellers contacted us to see if we were still interested (uh…YEA!). They didn’t hesitate to point out the dings and scratches on the top, but nothing I saw scared me. Though I did find it a little odd that anyone would ever consider supergluing wood trim to the top (to display plates, I guess).
In the process of loading the piece into our car, I noticed a “made in Denmark” stamp. We paid the sellers ($120!), I thanked the Craigslist gods and then drove this dreamboat home.
While the top was in rough shape (see below), the rest of the cabinet was actually doing pretty well. The finish was a little dull, and a couple of the doors were loose, but overall I was pretty relieved. The majority of the restoration was going to be spent on the top of the buffet, and the rest just needed some polishing.
The first step was stripping off the existing finish. Since only the top needed to be stripped, painter’s tape was used to mask off the exact area I was working with.
I then used CitriStrip to remove the existing polyurethane. I really like using this product for a number of reasons. It’s gel-like and easy to control, it has a long working time, and it basically just smells of citrus. Oh, and it works pretty darn well!
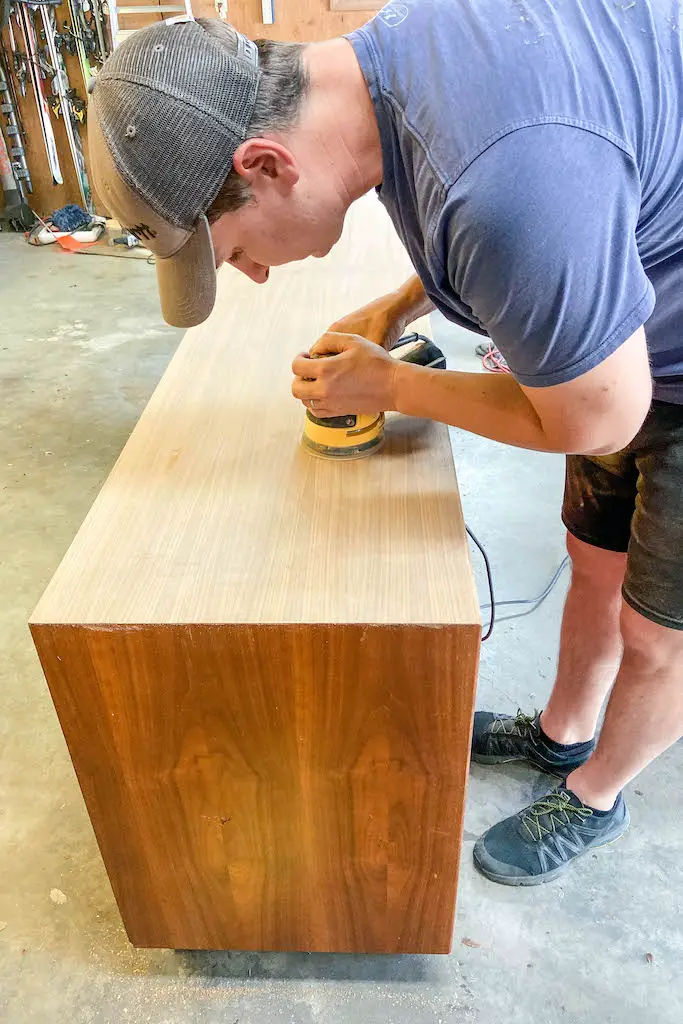
After the polyurethane finish was removed, we let the top dry out before sanding. Using an orbit sander, Eric went through a progression of 60, then 120, then 220 grit sandpaper. I was amazed at how well he was able to eliminate or reduce many of the gouges.
After everything was sanded I moved on to staining the top. Thinking I would need to color match the bare wood on top with the rest, I bought several different small cans of wood stain. At the last minute though, I noticed a can of Watco Danish Oil in our garage. Curiously – I applied it to a small area to see what effect it would have.
I was instantly amazed. I had been so used to working with cheaper woods like hemlock and douglas fir, that I had no idea teak took on such a rich color with just a lightly tinted oil. The color matched perfectly! I quickly got carried away and applied the oil to the top of the unit.
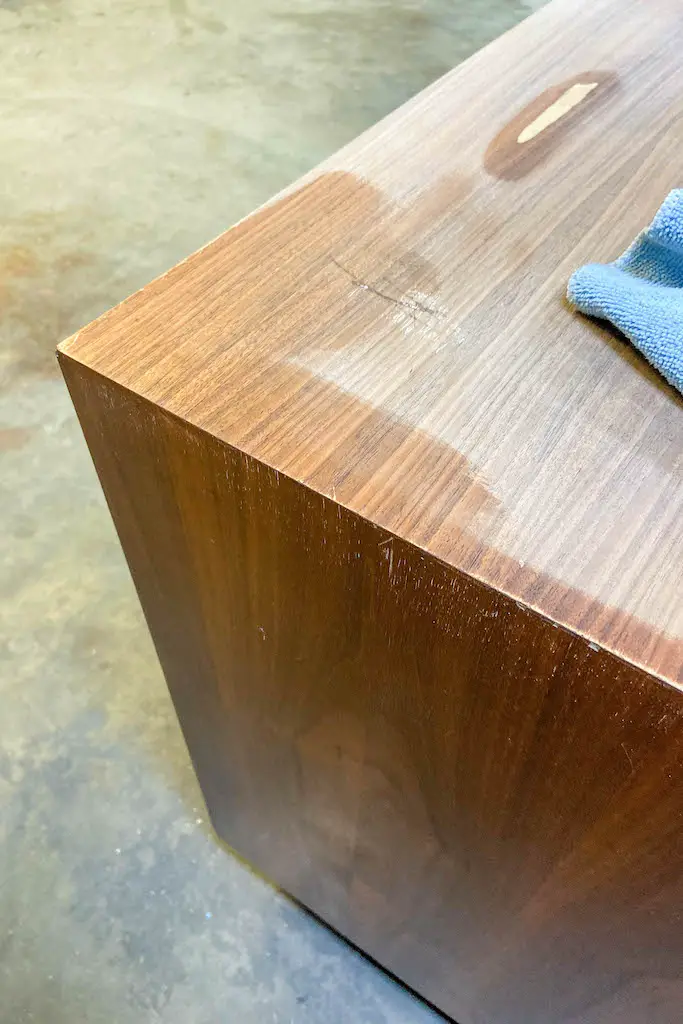
As you can see above, there was one small area where the teak veneer tore away. More on fixing that later!
I applied a total of two coats of danish oil, letting it dry for about a day in between coats.
The rest of the unit didn’t need any heavy stripping or sanding, but I did buff it with some fine steel wool and lightly apply some danish oil. This seemed to refresh the color and blend any fine scratches.
The gouge on the top obviously didn’t change in color though. To fill it in, and match it to the rest of the wood, I applied several layers of Minwax Polyshades with a brush.
After the gouge was filled in, I applied wipe-on polyurethane to the top, sides, and doors. This was my second time using wipe-on poly and when it comes to furniture restoration – it’s all I ever plan to use. It worked really well on this piece because I could control its application easily and it didn’t leave any brush strokes.
The sides and doors only needed one coat of poly, but I applied 3 coats to the top to get a smooth finish. In between coats I lightly sanded the surface with 220 grit sandpaper.
The final step in restoring our mid-century buffet was tightening a couple of the hinges. It wasn’t exactly easy though. The doors were seemingly put into place before the frame was complete – making some of the screws pretty tricky to get to.
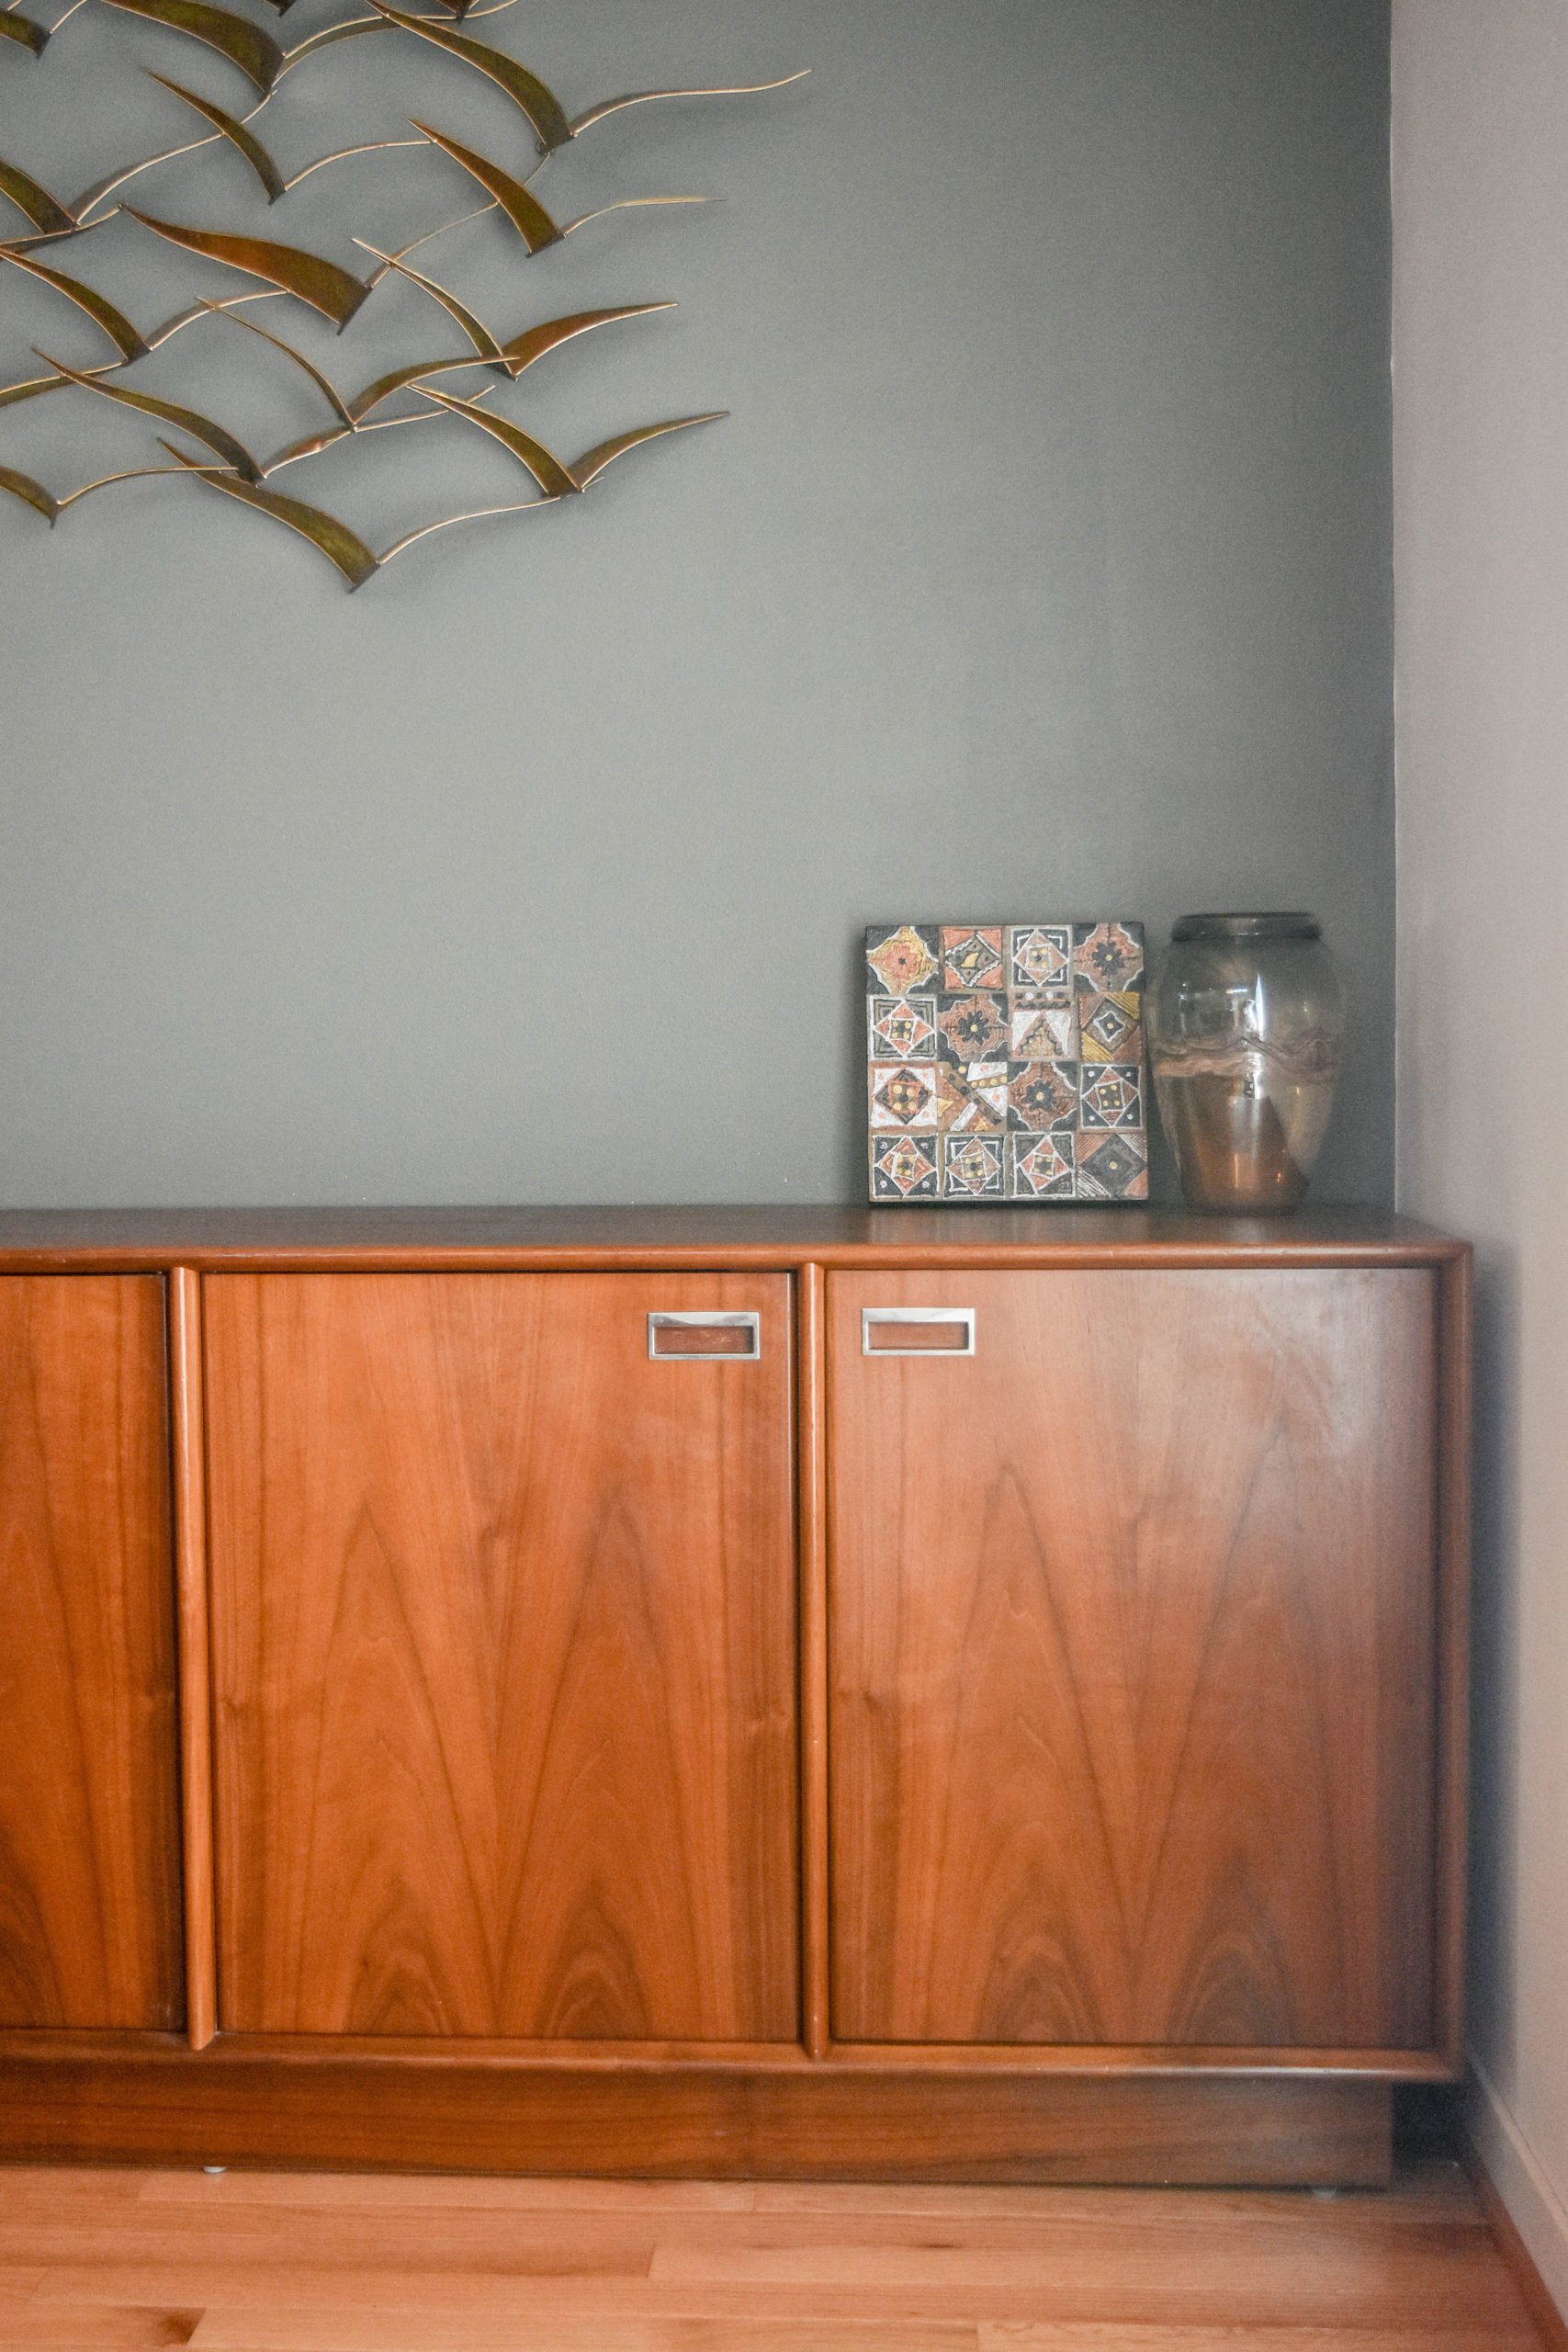
The finished buffet is probably my favorite mid-century piece that we have acquired thus far. The patience of searching, waiting, and restoring definitely paid off!