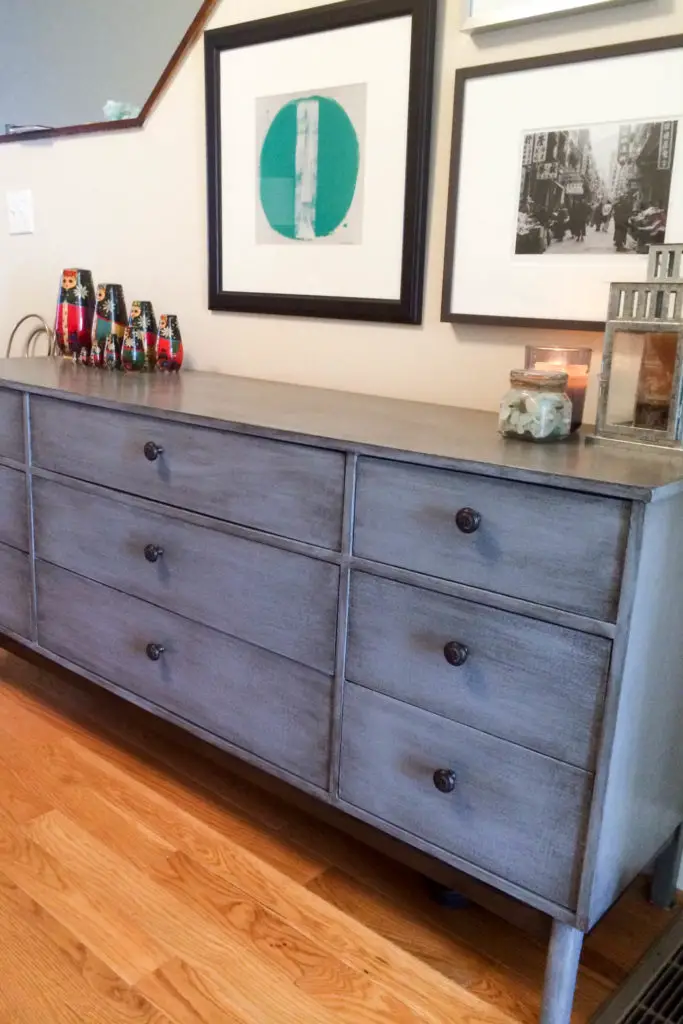
This was pretty much my first [completed] DIY project…
I’m going to keep this short and sweet. Pretend it’s a poem or something…
in anticipation for moving into my new home.
It had been painted white. I didn’t want it white.
I had no idea what I wanted to do with it.
All the drawers were quite ‘sticky.’
 I wanted a DIY project. Eric wanted power tools (a power sander).
We decided to sand and stain it.
But the top was laminate. So we realized we had to paint it.
So we sanded everything, primed, and painted it.
 And then I realized I didn’t like the paint color.
And the drawers were now even ‘stickier.’
So I bought some antiquing glaze.**
And Eric bought more power tools (a mouse sander).
And I fixed both those problems. Then I added hardware.
 The drawers were a little too dark at first (too much glaze), so I took a sanding pad and scuffed some off.
Finally, I brushed on Varathane Polyurethane in Satin.

Paint: Behr “Ancient Pewter”in semi-gloss
Glaze: Valspar Antiquing Glaze
Hardware: Home Depot (online)
The paint and primer were applied with foam rollers. This was because I was originally going for a ‘lacquered’ look.
**The glaze was brushed on with an old dry paint brush. I let it sit for a few seconds, then wiped it away with an old t-shirt (dry) in long strokes. Since the surface was very smooth, I got most of the ‘grain’ effect from the brush and with varying techniques with the t-shirt (in my opinion, with the antiquing glaze, the more imperfections in the surface, the better). The glaze comes off with water if you remove it before it starts to dry. So if you aren’t happy with the way it went on, just clean it up and try again.
